
House Wrap Installation: Laps, Seams, and Penetrations
In DOE and PNNL Building America Solution Center guidance on house wrap installation, house wrap is sealed at all seams and overlaps flashing to serve as a continuous drainage plane over the exterior walls.
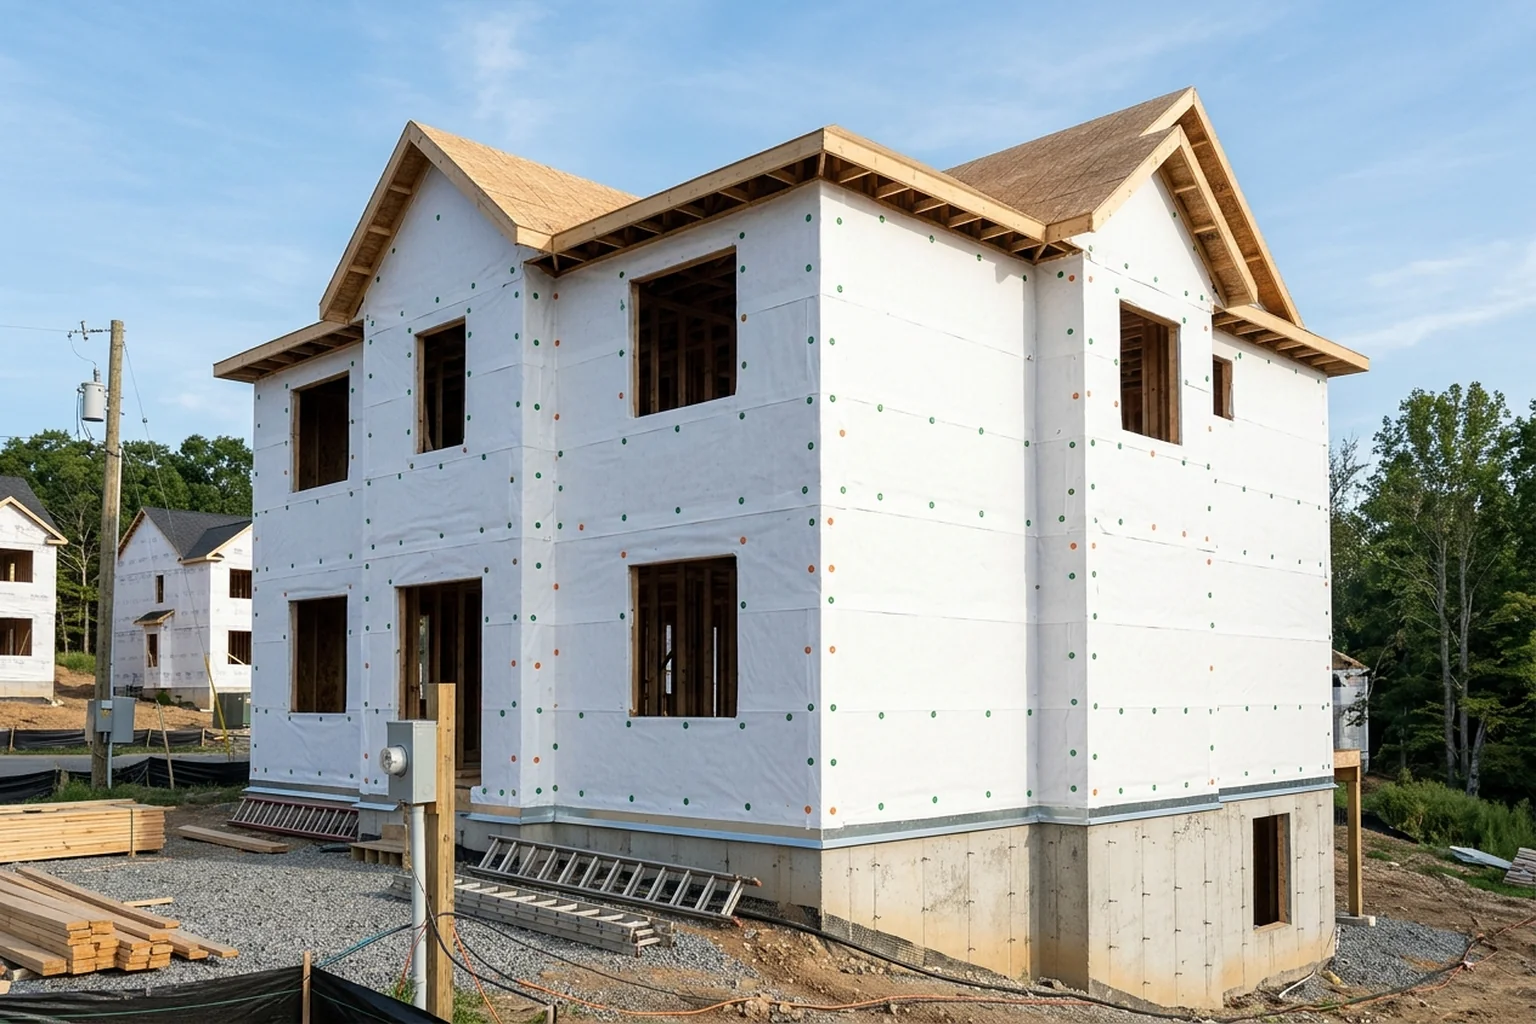
In DOE and PNNL Building America Solution Center guidance on exterior wall assemblies, house wrap is sealed at all seams and overlaps flashing to serve as a continuous drainage plane over the exterior walls.
To keep water out of the wall cavities, the DOE and PNNL Building America Solution Center instructs installers to make sure that this drainage plane layer laps over flashing installed around doors and windows, wall penetrations, and any flashing installed at the top or base of walls.
As noted by the DOE and PNNL Building America Solution Center, while the primary function of a weather-resistant barrier is rainwater control, the drainage plane may also serve as an air barrier if the seams in the drainage plane are taped or otherwise sealed.
In the 2018 International Residential Code, 2018 IRC R703.1.1 states that the exterior envelope shall be designed and constructed by providing a water-resistant barrier behind the exterior cladding as required by Section R703.2.
Building Science Corporation drainage plane guidance states that reverse-lapped flashings are bound to fail, and explains that continuity of the drainage plane is maintained in two ways: 1) through shingle lapping of the materials and 2) through taping or sealing of material joints.
How House Wrap Installation Controls Rainwater, Air Leakage, and Vapor Diffusion
Among plastic house wrap materials in the DOE and PNNL Building America Solution Center guide, perforated products have tiny holes punched in them, whereas non-perforated products rely on tiny interstitial gaps between fibers or woven bands of plastic.
As summarized in Building Science Corporation study RR-0105 and cited by the DOE and PNNL Building America Solution Center, housewraps restrict or permit the passage of water molecules based on size, but cannot control the direction in which the water vapor molecules move.
The DOE and PNNL Building America Solution Center explains that the moisture drive direction travels from the warmer area to the cooler area, and that solar-driven moisture can pass inward through any vapor-permeable house wrap or building paper.
For traditional felt membranes, the DOE and PNNL Building America Solution Center notes that building paper comes in 36-inch-wide rolls in two common weights designated as #15 and #30, originating from when asphalt-impregnated felt weighed 15- or 30-pounds per square of 100 square feet.
Regarding joint treatment on felt versus plastic wraps, the DOE and PNNL Building America Solution Center states that generally tape can be used for house wraps but is not used for building papers as the bond will not last very long, whereas some caulks may be appropriate.
For drainage behind cladding, the DOE and PNNL Building America Solution Center recommends at least 1/16-inch behind lap siding and a drainage space of 3/4 inch between stucco and plastic house wraps, while noting that a 1-inch air gap is needed behind brick veneer as required by the 2009 International Residential Code.
According to Building Science Corporation drainage plane guidance, effective drainage of rainwater can occur in drainage spaces as small as 2 or 3 mm, whereas effective ventilation may require spaces up to 1 inch or 20 to 25 mm depending on the moisture load.
In the TYPAR Weather Protection System Installation Guide, under the 2006 IBC Section 2510.6 and the 2006 IRC Section R703.6.3, when TYPAR WRB is used behind stucco over wood-based sheathing, it should be separated from the stucco by a second layer of TYPAR WRB or a layer of Grade D building paper.
The TYPAR Weather Protection System Installation Guide notes that the 2006 IRC Section R703.7.4.2 requires a minimum 1 inch or 25 mm airspace separating brick from the WRB, while the Brick Industry Association recommends a 1 inch or 25 mm airspace in front of wood stud construction and a 2 inch airspace in front of steel stud construction.
According to the TYPAR Weather Protection System Installation Guide, TYPAR BuildingWrap exceeds the code baseline of ASTM D226 Type 1 #15 felt, holds ICC-ESR-1404 and CCMC #12892-R and 12884-R approvals, meets AC38 standards for water-resistive barriers, and pairs with TYPAR flashing products that meet AAMA 711.
Base Course Alignment, Sill Plate Overlap, and Shingle Sequencing
In DOE and PNNL Building America Solution Center sequencing, installers start at the bottom of the exterior walls and work their way up, installing each subsequent course so it overlaps the course below and installing all layers of the drainage plane to overlap rather than underlap.
The DOE and PNNL Building America Solution Center instructs installers to begin at a building corner leaving a 6- to 16-inch overlap to wrap around the corner, and warns against reverse shingling where the house wrap is incorrectly installed before the step flashing.
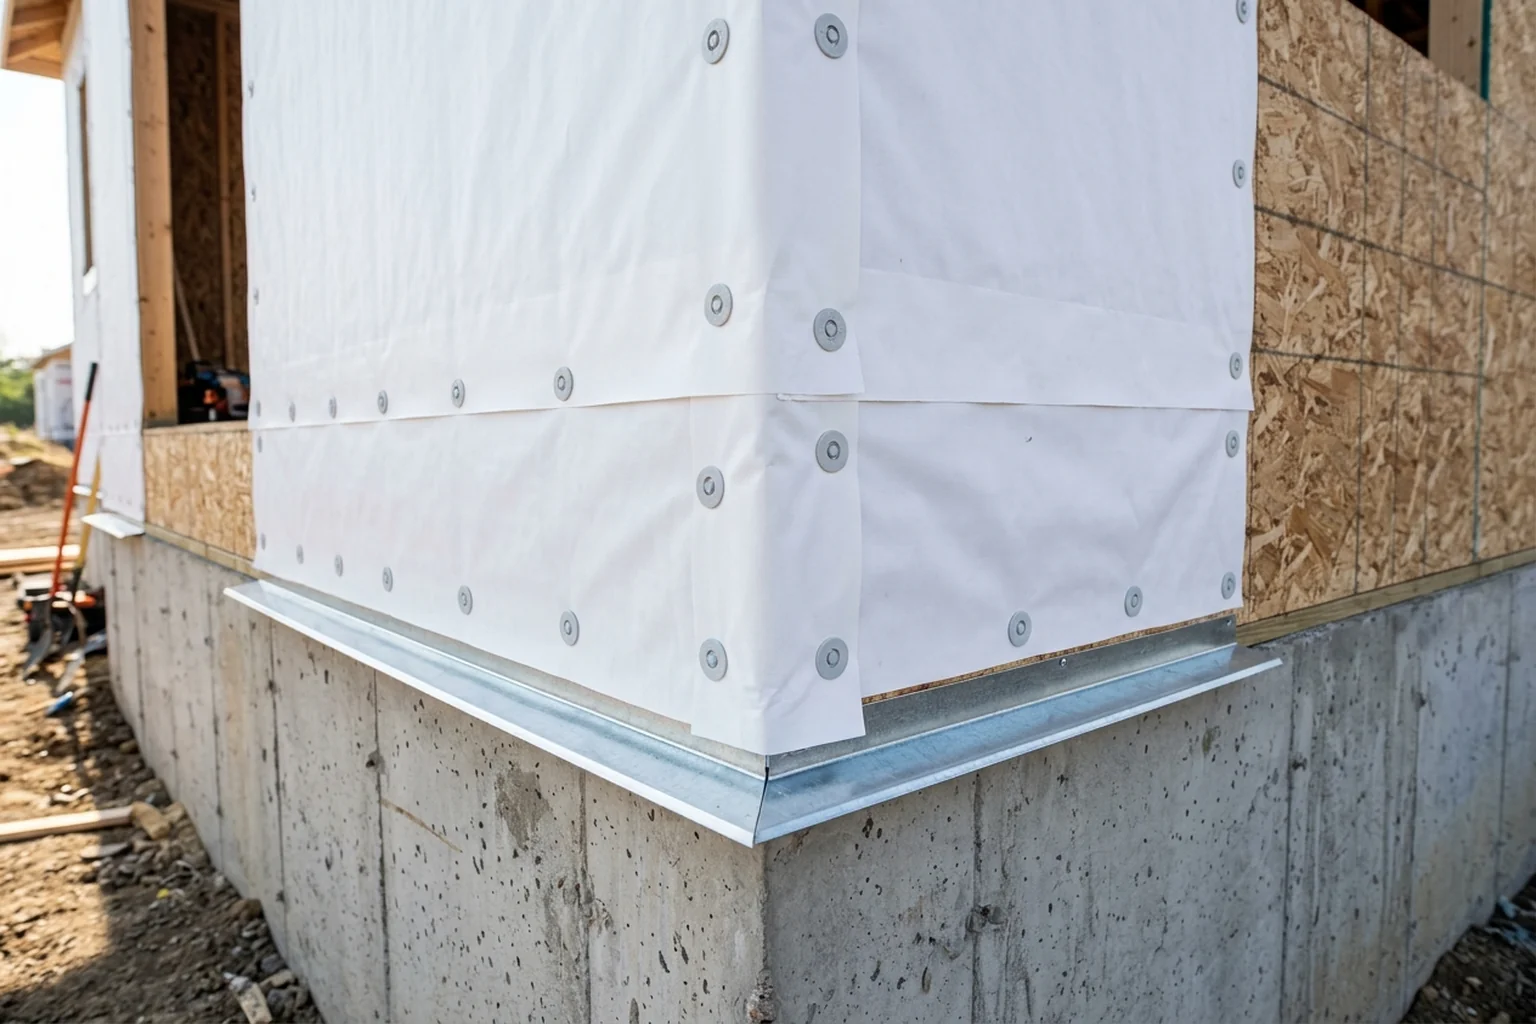
At the base of the wall, the DOE and PNNL Building America Solution Center guide on flashing at the bottom of exterior walls states that when more than one length of metal or vinyl base flashing is needed to span across the bottom of a wall, overlap pieces at least 8 inches, and the bottom edge of the base flashing should be at least 8 inches above grade.
In DuPont Tyvek WRB new construction installation guidelines, the Tyvek WRB roll is aligned at the bottom corner of the structure and unrolled starting from the corner, all vertical seams are overlapped by 6 inches to 12 inches, and Base of Wall Option 1 overlaps the foundation by a minimum of 1 inch and is sealed with a DuPont Self-Adhered Flashing Product.
Under DuPont Tyvek WRB Base of Wall Option 3, the Tyvek WRB is overlapped onto through-wall flashing by a minimum of 4 inches to 6 inches and is sealed using Tyvek Tape or a DuPont Self-Adhered Flashing Product.
In DuPont Weathermate Housewrap installation guidelines, small diamond markers are printed every 8 inches on Weathermate Housewrap to assist with stud alignment, and the bottom edge of the roll must extend over the sill plate interface onto the foundation by at least 1 inch with 2 inches or greater recommended.
Horizontal, Vertical, and Corner House Wrap Overlap Specifications
In DOE and PNNL Building America Solution Center general guidance, installers stagger the ends of each course so seams between courses do not align, where a 4- to 6-inch overlap for vertical seams is typical and a 2-inch overlap for horizontal seams is typical.
In DuPont Tyvek WRB installation guidelines, fasteners are spaced 6 inches to 18 inches on vertical stud lines with no fasteners within 6 inches of sills and jambs and 9 inches of the head of rough openings, vertical seams of Tyvek WRB are taped, and upper layers overlap bottom layers by a minimum of 6 inches.
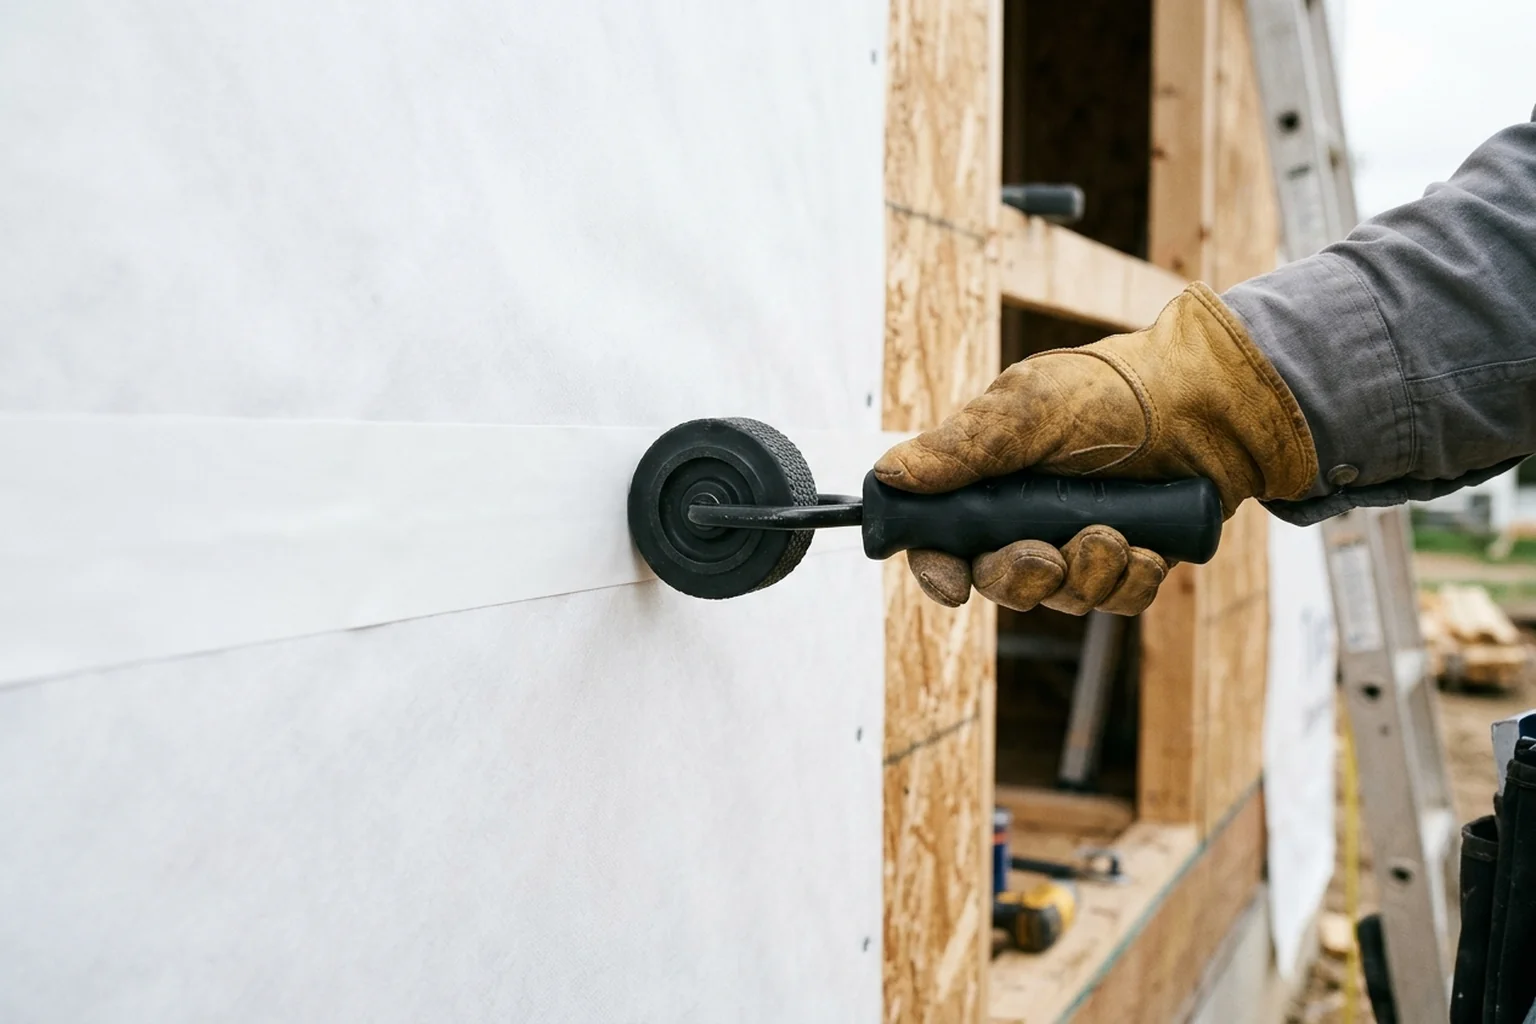
In DuPont Weathermate Housewrap installation guidelines, the upper layer overlaps the bottom layer by a minimum of 6 inches; when not installed as an air barrier, tape is not required on horizontal seams, whereas for air barrier installations all horizontal seams must be taped.
In the TYPAR Weather Protection System Installation Guide, TYPAR BuildingWrap applied over 7/16 inch OSB or 15/32 inch plywood is fastened with plastic-capped nails or staples at 32 inches on center vertically and horizontally, with a minimum 12 inch overlap at corners and a minimum 1 inch or 25.4 mm overlap on the sill plate where 2 to 4 inches or 51 to 102 mm is recommended.
On TYPAR BuildingWrap, the TYPAR Weather Protection System Installation Guide states that the upper layer of TYPAR WRB should overlap the bottom layer by a minimum of 6 inches or 152 mm vertically and horizontally, and installers tape all seams and penetrations using TYPAR Construction Tape.
In the Barricade Building Products installation guide, all horizontal overlaps of building wrap must be at least 2 inches with 4 inches recommended and vertical overlaps must be at least 6 inches, with fasteners spaced a maximum of 18 inches on center at the starting corner and a maximum of 32 inches on center around the building.
In OX HomeGuard Housewrap installation instructions, upper courses are lapped over lower courses by at least 2 inches where horizontal overlaps of 6 inches or greater do not require seam tape, vertical seams overlap at least 6 inches and use seam tape, and fasteners are spaced every 24 inches for roofing nails or staples or every 32 inches for plastic cap nails or staples.
In Continental Materials SecureWrap installation guidelines, installers allow a 12 inch or 305 mm corner flap, drive plastic-capped staples or nails every 32 inches or 812 mm, maintain 6 inch or 152 mm vertical and horizontal laps, and extend the bottom edge of the house-wrap 2 to 4 inches or 51 to 102 mm over the sill plate.
| House Wrap System | Horizontal Seam Overlap | Vertical Seam Overlap | Corner and Sill Overlap | Fastener Spacing |
|---|---|---|---|---|
| DuPont Tyvek WRB (new construction) | Upper layer overlaps bottom layer by a minimum of 6 inches | All vertical seams overlapped by 6 inches to 12 inches and taped with DuPont Tyvek Tape | Roll aligned and unrolled starting at bottom corner of structure; Base of Wall Option 1 overlaps foundation by a minimum of 1 inch and is sealed with DuPont Self-Adhered Flashing Product | Fasteners spaced 6 inches to 18 inches on vertical stud lines with no fasteners within 6 inches of sills and jambs and 9 inches of the head |
| DuPont Weathermate Housewrap | Upper layer overlaps bottom layer by a minimum of 6 inches; tape not required on horizontal seams if not installed as an air barrier, and all horizontal seams must be taped for air barrier installations | Overlap all vertical seams by 6 inches to 12 inches and tape all vertical seams with DuPont Weathermate Construction Tape | Roll aligned at bottom corner of structure; bottom edge extends over sill plate interface onto foundation by at least 1 inch with 2 inches or greater recommended | Fasteners placed 6 inches to 18 inches on vertical stud lines using small diamond markers printed every 8 inches to help determine position of underlying studs |
| TYPAR BuildingWrap over 7/16 inch OSB or 15/32 inch plywood | Upper layer overlaps bottom layer by a minimum of 6 inches or 152 mm horizontally, taped using TYPAR Construction Tape | Minimum 6 inches or 152 mm vertical overlap, taped using TYPAR Construction Tape | Minimum 12 inch overlap at corners and minimum 1 inch or 25.4 mm overlap on the sill plate with 2 to 4 inches or 51 to 102 mm recommended | Plastic-capped nails or staples at 32 inches on center vertically and horizontally |
| Barricade Building Wraps | At least 2 inches with 4 inches recommended | At least 6 inches vertical overlap | Start by placing the roll 2 to 3 feet from the corner and unroll around the building | Maximum 18 inches on center at starting corner and maximum 32 inches on center around the building |
| OX HomeGuard Housewrap | Lapped over lower courses by at least 2 inches with horizontal overlaps of 6 inches or greater not requiring seam tape | At least 6 inches and use seam tape | Start with lower course two to three feet from the corner | Every 24 inches for roofing nails or staples or every 32 inches for plastic cap nails or staples |
| Continental Materials SecureWrap | 6 inches or 152 mm horizontal laps | 6 inches or 152 mm vertical laps | 12 inch or 305 mm corner flap and 2 to 4 inches or 51 to 102 mm extension over sill plate | Plastic-capped staples or nails every 32 inches or 812 mm |
Fastener Selection, Stud Spacing, and Nail Sealability Testing
For wood-framed construction, the DOE and PNNL Building America Solution Center states that cap nails that have a large plastic washer are recommended, and instructs installers to space fasteners following manufacturer guidelines where every 12 to 18 inches is typical.
In The Construction Specifier discussion of ASTM D7349 fastener sealability testing for water-resistive barriers, a membrane placed onto a piece of 12 mm or 15 32 inch thick plywood with driven nails is tested under a filled water height of 125 mm or 5 inches in a chamber at 2 degrees C or 39.2 degrees F for three days.
Seam Taping Rules, Tape Specifications, and Pre-Siding Inspection
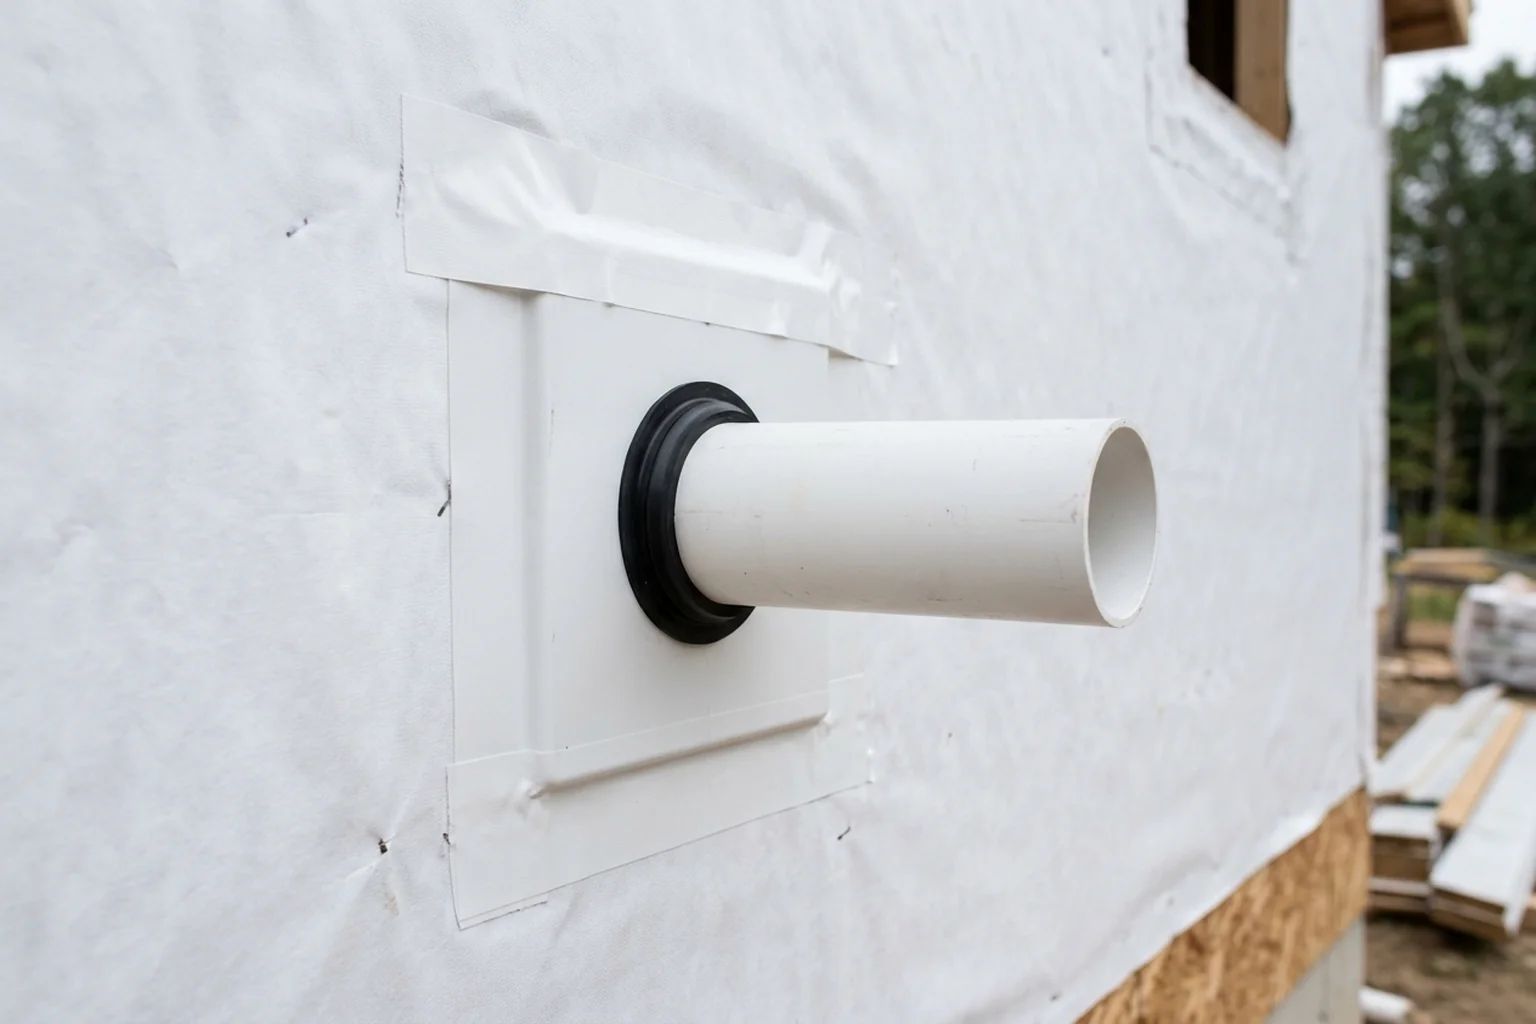
In DOE and PNNL Building America Solution Center guidance, seal penetrations such as light fixtures, water spigots, exhaust vents, or piping for mechanicals with tape, caulk, or sealant, and for house wrap materials that will serve as an air barrier, tape all horizontal and vertical seams.
In DuPont Tyvek WRB Air Barrier Installations, all horizontal seams are taped, and 3 inch Tyvek Tape is required on horizontal and vertical seams when using DuPont Tyvek StuccoWrap, Tyvek DrainWrap, or Tyvek CommercialWrap D.
In the TYPAR Weather Protection System Installation Guide product table, TYPAR Construction Tape is offered in 1-7/8 inch x 165 foot rolls at 24 rolls per case, 3 inch x 165 foot rolls at 16 rolls per case, and 60 mm x 55 m rolls for TYPAR Construction Tape Canada at 24 rolls per case.
In the Barricade Building Products specification guide, Barricade Seam Tape is a 3 mil cold-weather acrylic adhesive tape in 165 foot rolls in 1-7/8 inch and 3 inch widths with 16 rolls per case on the 1-7/8 inch row, 30 lb/in tensile strength, a 14°F–122°F application range, a -40°F–212°F operating range, 12 Months shelf life, and 180 days UV exposure rating.
Before siding installation, the DOE and PNNL Building America Solution Center specifies that seams in house wrap and rigid foam insulation should be taped, and the tape must adhere uniformly to the substrate without peeling or open fish mouths, which are folds in the tape that create an opening.
Flashing Circular and Rectangular Wall Penetrations
In DuPont Tyvek WRB installation details for sealing non-flanged penetrations with DuPont FlexWrap, FlexWrap is installed around the bottom of the penetration first, and a top piece of FlexWrap is installed around the top of the penetration overlapping the bottom layer of FlexWrap by 2 inches on either side.
For non-flanged penetrations with an outer diameter greater than 2 inches, DuPont Tyvek WRB installation guidelines specify cutting a FlexWrap EZ piece longer than the circumference of the non-flanged product to ensure a 1 inch overlap onto the Tyvek WRB.
For non-flanged penetrations with an outer diameter less than 2 inches, DuPont Tyvek WRB installation guidelines specify a first FlexWrap EZ piece cut 1/2 the circumference on the bottom and a second piece of FlexWrap EZ on top with a minimum 1 inch overlap of the edges of the FlexWrap EZ below.
For a flanged penetration installed before DuPont Tyvek WRB, DuPont Method 1 applies DuPont Flashing Tape with flanges extending onto the sheathing by a minimum of 2 inches and cuts the WRB with a minimum 1 inch gap for adhesion, whereas Method 2 laps the next Tyvek WRB course with a minimum 6 inch overlap.
For a flanged penetration installed after DuPont Tyvek WRB under Method 2, DuPont specifies making a horizontal cut a minimum of 1 inch wider than the flange, sliding the top flange into the slit with a minimum 2 inch overlap of Tyvek WRB, and applying flashing at the bottom and side flanges extending onto the Tyvek WRB by 2 inches.
In the TYPAR Weather Protection System Installation Guide for flanged penetrations such as dryer vents, installers start at the bottom flange and cut the flashing so that it extends past the flanges by 1 inch on both sides, apply side flashing overlapping the bottom flashing by 1 inch on both top and bottom, and apply top flashing extending out at least 1 inch on both sides.
In the Barricade Building Products installation guide for flashing a round penetration, installers cut two 45° angles and peel back the house wrap above the penetration, apply Barricade Flash Conform to the underside of the penetration, replace the house wrap flap over the flashing, and tape over the 45° cuts using Barricade Seam Tape.
In the QuickFlash Weatherproofing Products installation guide for plumbing before the weather resistant barrier, installers must always use the correct size panel for the pipe or duct being used, must not cut the rubber seal, and fastener use is optional.
Field Repairs, Permeability Ratings, and Pre-Siding Inspection Checklist
In DuPont Tyvek WRB field repairs, tears are covered with Tyvek Tape or Self-Adhered Flashing Products, whereas holes require cutting a slit in the Tyvek WRB 2 inches above the hole extending 2 inches on each side of the hole and tucking a piece of Tyvek WRB into the slit to maintain proper shingling.
In the Barricade Building Products specification table, Barricade Wrap has 11 US Perms water vapor permeability, 63.3 lbs/in MD tensile strength, Class A flame spread, and a 12 months UV rating; Barricade Wrap Plus has 16 US Perms permeability, 59 lbs/in MD tensile strength, >1800 air resistance, 325 water resistance, Class A flame spread, and a 9 months UV rating; and Barricade R-Wrap has 50 US Perms permeability.
Pre-Siding Field Inspection Checklist
- Verify that the house wrap is sealed at all seams and overlaps flashing to serve as a continuous drainage plane over the exterior walls.
- Make sure that the exterior wall drainage plane layer laps over flashing installed around doors, windows, and wall penetrations and any flashing installed at the top or base of walls.
- Remember the Building Science Corporation study RR-0105 finding that housewraps restrict or permit the passage of water molecules based on size, but cannot control the direction in which the water vapor molecules move.
- Inspect all taped joints before siding installation to confirm that seams in house wrap and rigid foam insulation are taped and that the tape adheres uniformly to the substrate without peeling or open fish mouths.
- Check DuPont Tyvek WRB stud lines to confirm fasteners are spaced 6 inches to 18 inches on vertical stud lines with no fasteners within 6 inches of sills and jambs and 9 inches of the head, vertical seams are taped, and upper layers overlap bottom layers by a minimum of 6 inches.
- Confirm that any DuPont Tyvek WRB tears are covered with Tyvek Tape and any holes have a slit cut 2 inches above the hole extending 2 inches on each side with a piece of Tyvek WRB tucked into the slit to maintain proper shingling.
Sources
- DOE and PNNL Building America Solution Center — Drainage Plane Behind Exterior Wall Cladding: House wrap is sealed at all seams and overlaps flashing to serve as a continuous drainage plane over the exterior walls.
- Building Science Corporation — Drainage Plane and Water-Resistive Barrier Guidance: Reverse-lapped flashings are bound to fail, and drainage plane continuity is maintained through 1) shingle lapping of the materials and 2) taping or sealing of material joints.
- DOE and PNNL Building America Solution Center — Flashing at Bottom of Exterior Walls: When more than one length of base flashing is needed to span across the bottom of a wall, overlap pieces at least 8 inches and keep the bottom edge at least 8 inches above grade.
- DuPont — Multi-Family Field Installation Examples for DuPont Tyvek WRB Installation and Continuity: Tyvek WRB roll aligned at the bottom corner of the structure, vertical seams overlapped by 6 inches to 12 inches, and Base of Wall Option 1 overlapped onto the foundation by a minimum of 1 inch.
- DuPont — DuPont Weathermate Housewrap Installation Guidelines: Small diamond markers printed every 8 inches on Weathermate Housewrap and bottom edge extended over the sill plate interface onto the foundation by at least 1 inch with 2 inches or greater recommended.
- TYPAR — TYPAR Weather Protection System Installation Guide: TYPAR BuildingWrap exceeds ASTM D226 Type 1 #15 felt, holds ICC-ESR-1404 and CCMC #12892-R and 12884-R, meets AC38 standards, and pairs with TYPAR flashing products meeting AAMA 711.
- Barricade Building Products — House Wraps, Tapes, and Flashing Installation Guide: Barricade Wrap rated at 11 US Perms and 63.3 lbs/in MD for 12 months, Barricade Wrap Plus rated at 16 US Perms, 59 lbs/in MD, >1800, and 325 for 9 months, and Barricade R-Wrap rated at 50 US Perms with Class A ratings.
- OX Engineered Products and HomeGuard Building Products — HomeGuard Housewrap Installation Instructions: Upper courses lapped over lower courses by at least 2 inches with horizontal overlaps of 6 inches or greater not requiring seam tape, vertical seams overlapped at least 6 inches with seam tape, and fasteners spaced every 24 inches or every 32 inches.
- Continental Materials — SecureWrap House-Wrap Installation Guidelines: 12 inch or 305 mm corner flap, plastic-capped staples or nails every 32 inches or 812 mm, 6 inch or 152 mm vertical and horizontal laps, and 2 to 4 inches or 51 to 102 mm extension over the sill plate.
- QuickFlash Weatherproofing Products — Installation Guide for Plumbing Before Weather Resistant Barrier: Always use the correct size panel for the pipe or duct being used, do not cut the rubber seal, and use of fasteners is optional.
- The Construction Specifier — Durability of Water-Resistive Barriers: ASTM D7349 fastener sealability test placing membrane onto 12 mm or 15 32 inch thick plywood with driven nails under a 125 mm or 5 inch filled water height in a chamber at 2 degrees C or 39.2 degrees F for three days.
Related Engineering Guides
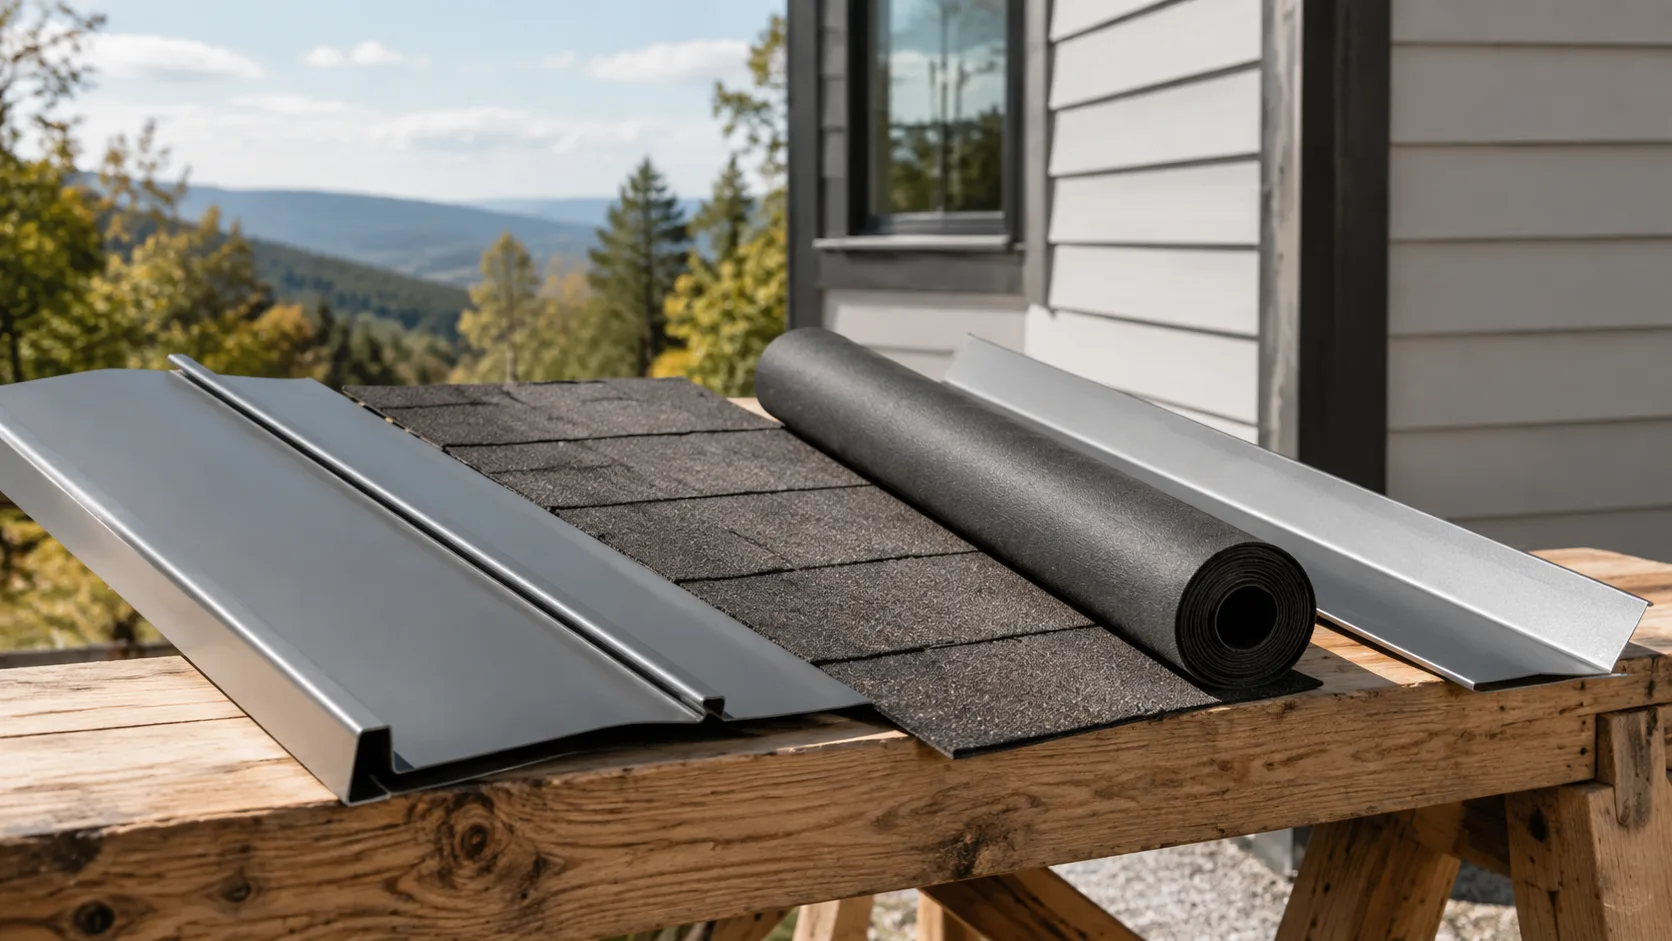
Exterior Siding and Roofing: Drainage, Cladding and Roof Details
Compare fiber-cement, metal and vinyl siding, roof coverings and the flashing connections that keep rain, air and moisture control continuous.
Read technical guide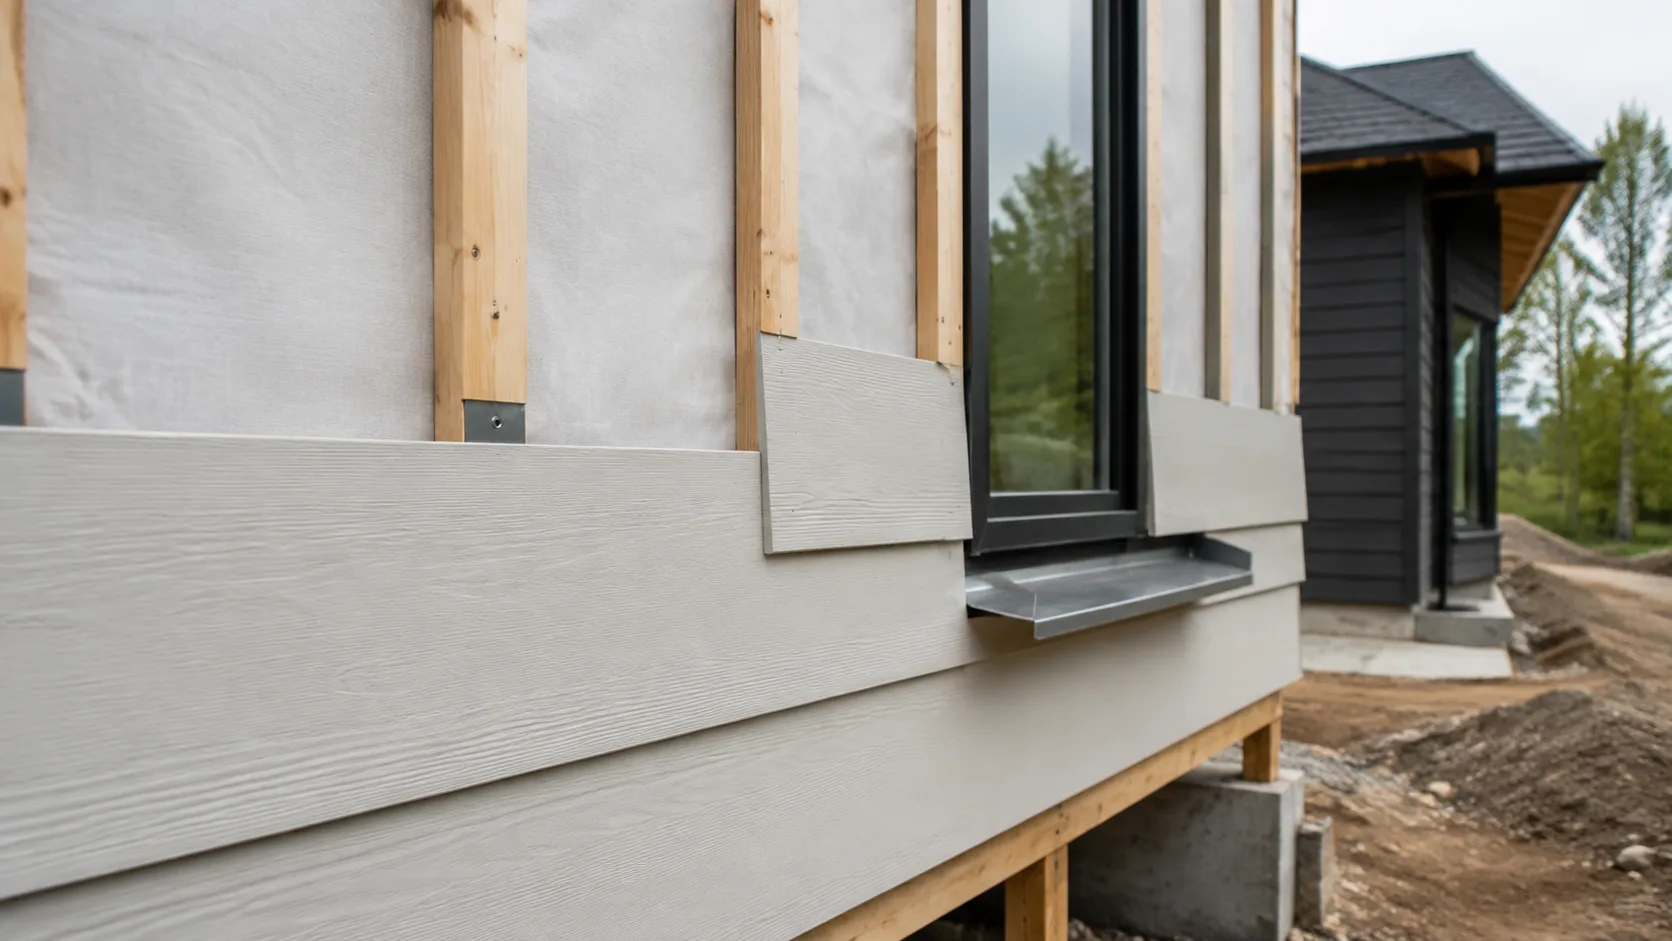
Building Envelope Guide
Understand how roofs, walls, windows, foundations, air barriers, drainage planes, insulation, and HVAC work as one enclosure.
Read technical guide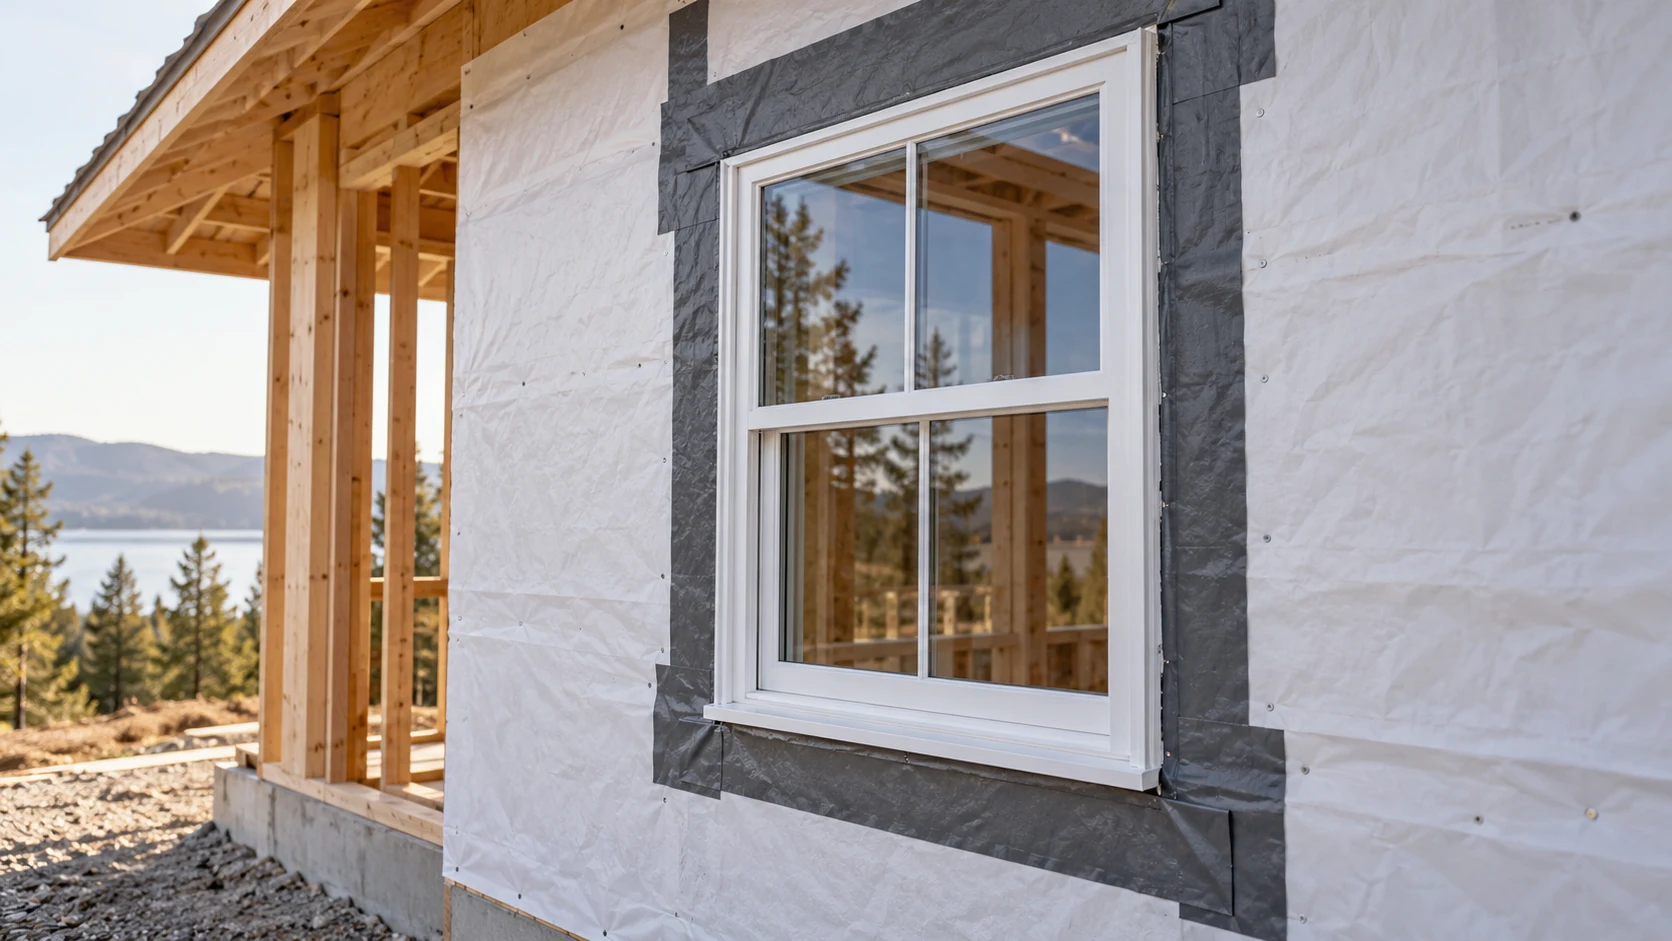
Window Flashing Installation: Sill Pan and Wrap Laps
Properly lapped flashing directs water out of the wall cavity.
Read technical guide