
Moisture Control in Hot-Humid Climates
Coordinate rain control, air sealing, vapor behavior, HVAC sizing, ventilation, and dehumidification for durable hot-humid homes.
Moisture arrives by more than one path
Bulk water, airflow, vapor diffusion, and capillary transport are distinct. Rain leakage can move far more water than vapor diffusion, while air leakage can carry humid air into a cool cavity where condensation becomes possible. Good design addresses each mechanism in the right order.
1. Drain bulk water outward
Begin with roof drainage, overhangs where appropriate, flashings, wall drainage planes, window and door integration, foundation drainage, and site grading. These are the primary defenses. Sealants can support a detail, but an exposed bead should not be the only layer preventing water entry.
2. Establish a continuous air barrier
Choose the air-control material in each assembly, then draw how it connects at roofs, walls, foundations, windows, doors, soffits, chases, and penetrations. Air sealing is an assembly task, not a tube-of-caulk task at the end of construction.
Verification may include visual inspection, photographs, mockups, and whole-building air-leakage testing. The test target and timing should be set before construction so defects can be repaired while layers are accessible.
3. Design the vapor profile for the climate
Air barriers and vapor retarders are not interchangeable terms. In hot-humid climates, exterior conditions often drive moisture inward during cooling periods. Very low-permeance interior layers can restrict drying in some above-grade wall assemblies. The correct choice depends on all assembly layers, climate, cladding, indoor conditions, and code.
Do not apply the phrase “vapor barrier” without naming the material, location, permeance function, and reason. Review the entire wall or roof in the building-envelope guide.
4. Size cooling equipment for the actual house
Equipment capacity should be based on documented loads and the intended enclosure. Oversized air-conditioning systems can run short cycles, reach the thermostat setpoint quickly, and remove less moisture. Duct leakage or poorly located ducts can add both energy and moisture risk.
Coordinate:
- enclosure infiltration assumptions;
- window and shading data;
- ventilation rate and control;
- equipment sensible and latent performance;
- duct location, sealing, and insulation;
- condensate drainage and overflow protection;
- part-load operation and thermostat strategy.
5. Decide whether dedicated dehumidification is needed
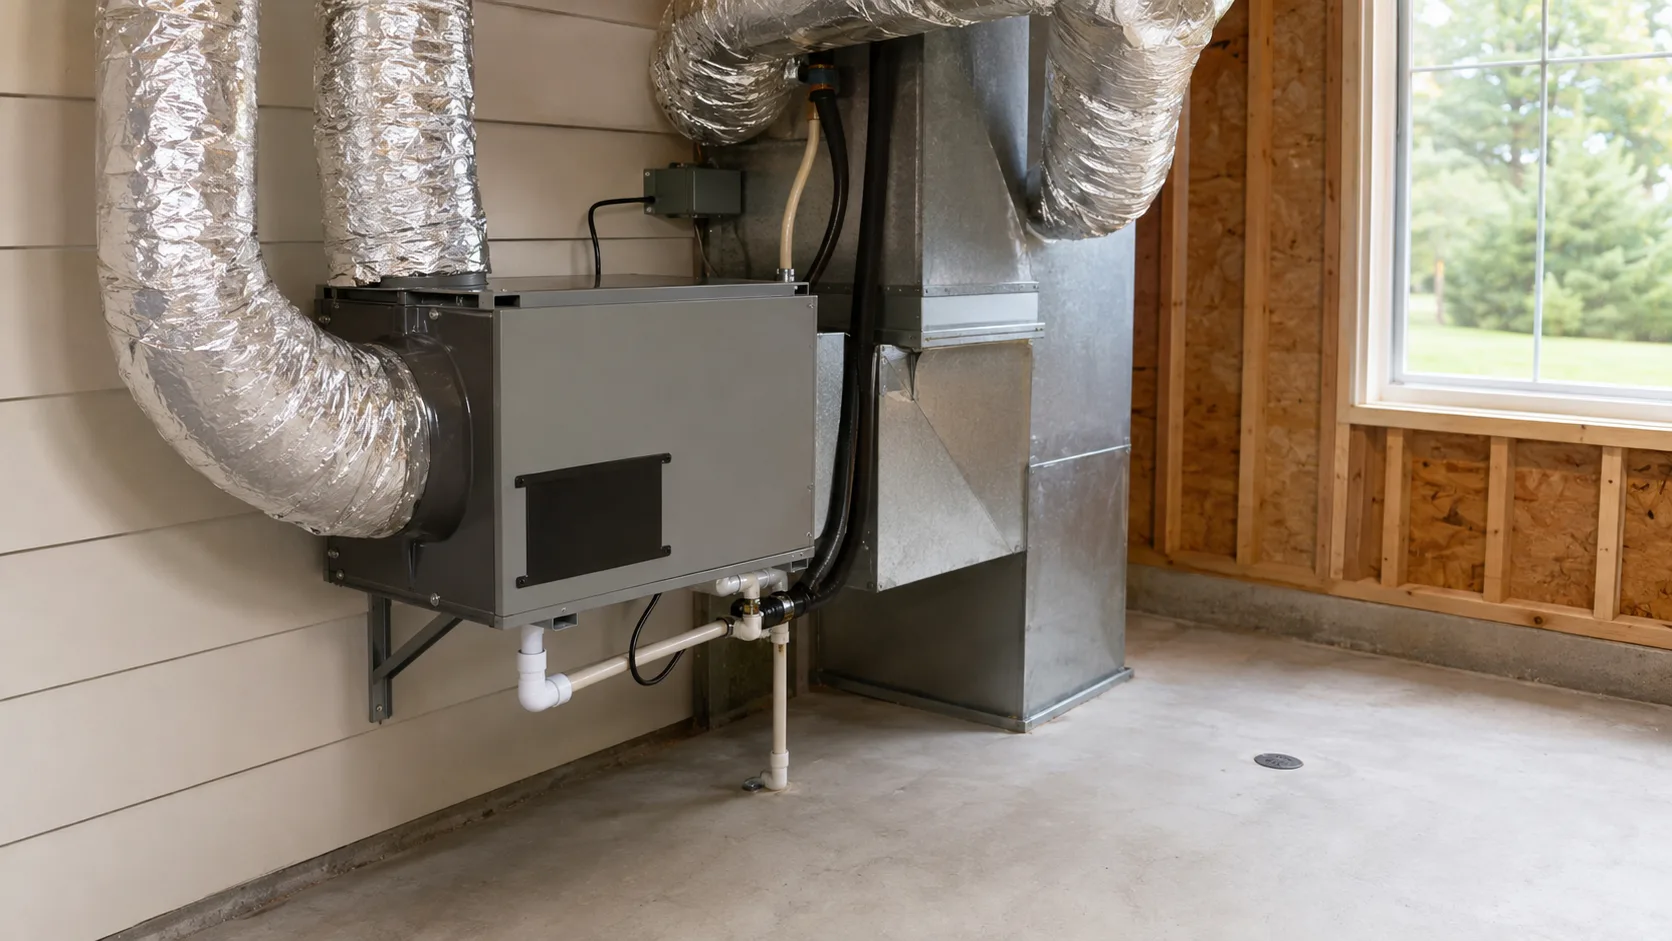
Humidity loads can remain when sensible cooling demand is low, especially during shoulder seasons, rainy periods, or in well-insulated homes. A whole-house dehumidifier may be appropriate when the cooling system alone cannot maintain the project’s indoor-humidity goal.
Selection is only the beginning. The design must address capacity, controls, drainage, heat added to the space, duct arrangement, filtration, ventilation interaction, service access, and commissioning. Portable units are not equivalent to a deliberately integrated system.
6. Control pressure and ventilation
Exhaust appliances, closed interior doors, duct imbalance, and ventilation systems can create pressure differences that draw humid air through the enclosure. Commission airflow and pressure relationships. Keep ventilation intentional, filtered where designed, and coordinated with humidity control.
7. Manage construction moisture
Materials can be wet before the house is occupied. Protect stored products, drain assemblies, dry framing and sheathing, and verify moisture-sensitive substrates before enclosing or applying finishes. Air conditioning is not a universal drying plan for active construction.
Diagnostic clues—not diagnoses
| Observation | Possible questions to investigate |
|---|---|
| Supply registers sweat | Is surface temperature below dew point? Is indoor humidity high? Is insulation or air sealing incomplete? |
| Musty odor after rain | Are drainage, flashing, or pressure-driven leaks present? |
| High humidity without high temperature | Is cooling runtime low? Are ventilation and dehumidification controls coordinated? |
| Local wall staining | Is there bulk-water entry, condensation, or plumbing leakage? |
| Closet or closed-room humidity | Is air circulation or pressure balance inadequate? |
These clues overlap. Measure conditions and investigate assemblies before prescribing a fix.
Design and commissioning checklist
- Name every enclosure control layer and transition.
- Detail window, roof-wall, foundation, and penetration drainage.
- Set an air-leakage target and test stage.
- Document load calculations and equipment selections.
- Coordinate ventilation and dehumidification controls.
- Provide primary and secondary condensate protection.
- Verify duct leakage, airflow, and pressure balance.
- Record control settings and owner instructions.
- Provide filter, drain, and exterior-sealant inspection schedules.
- Reassess performance after occupancy if indoor conditions differ from design.
Moisture control is not a single membrane or machine. It is the result of enclosure, equipment, and operation behaving as one system.
Begin an investigation with measurements and timing
Record when a symptom occurs, where it appears, and what the house was doing at the time. Useful observations include outdoor weather, indoor temperature and relative humidity, equipment operation, occupancy, recent rain, and any changes to ventilation or thermostat settings. Label the instrument and location so readings can be compared meaningfully.
One reading does not establish the cause of a recurring problem. Look for patterns across rooms and time, and ask a qualified professional which measurements would distinguish likely mechanisms. A damp closet, a sweating register, and staining near a window may have different causes even when the owner describes all three as humidity.

Separate source, transport, and affected material
A useful diagnostic note identifies the possible moisture source, the path it could travel, and the material or surface affected. For example, exterior rain near an opening suggests a different investigation from humid air reaching a cold surface. Plumbing, construction moisture, and indoor activities should also remain in the initial question set where relevant.
Ask the investigator to explain what evidence supports the proposed cause and what would disprove it. Then choose a repair with a verification method. Replacing damaged finishes may be part of restoration, but it does not by itself demonstrate that the moisture path has been corrected. The building-envelope guide organizes the layer and transition questions.
Understand relative humidity and cold surfaces
Relative humidity depends on temperature, so readings should be interpreted together with temperature and conditions at the affected surface. A room can have a different condition from a cavity or duct surface. Avoid treating a single thermostat display as a complete picture of the building.
The Building America guide to whole-house dehumidification explains how cooling and moisture removal can diverge when cooling demand is low. This is why equipment selection should address both temperature and moisture loads. Ask the HVAC professional to document the relevant assumptions instead of choosing capacity from floor area alone.
Review the enclosure before adding equipment
Identify known rain leaks, unsealed penetrations, duct leakage concerns, and unusual pressure relationships. A supplemental dehumidifier should be evaluated within the complete system rather than used to compensate indefinitely for an unresolved enclosure defect. The appropriate scope depends on measured conditions and professional diagnosis.
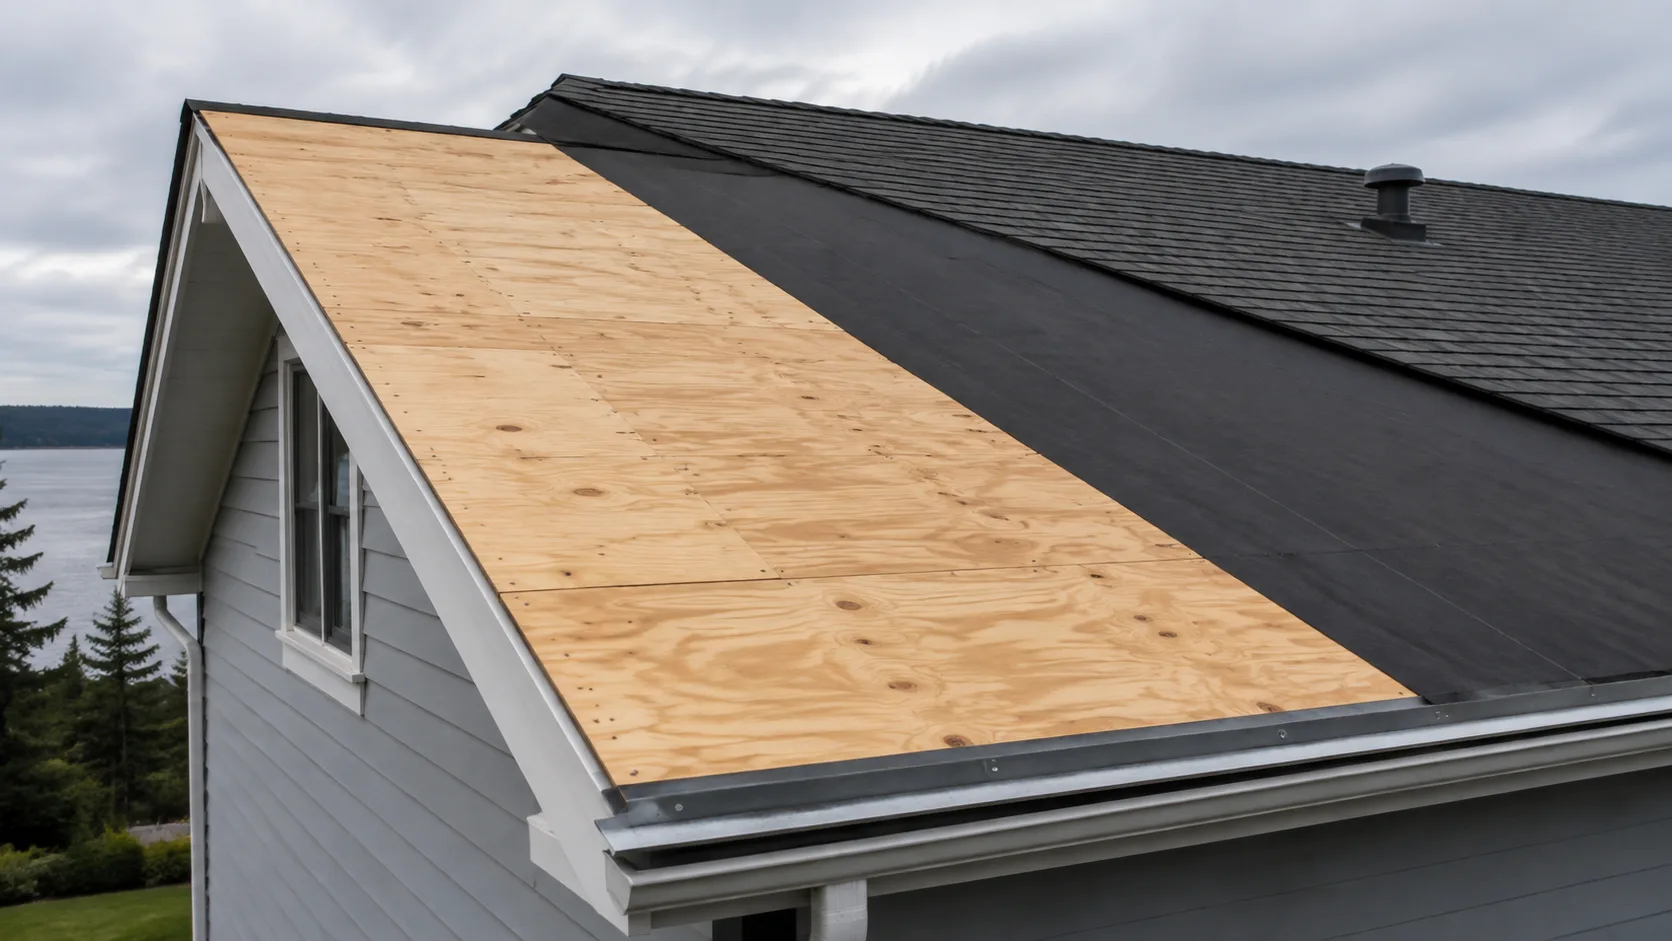
For exposed homes, the high-wind roof guide helps identify roof transitions worth documenting. Ask whether staining corresponds to rain direction, particular storms, or equipment cycles. That timeline can help the team select a useful inspection or test and avoid replacing unrelated components.
Specify dehumidification as an installed system
If dedicated dehumidification is appropriate, ask how it will distribute air, sense conditions, drain condensate, receive service, and interact with existing equipment. The proposal should identify the intended control sequence and the conditions used for selection. Compare the complete installation, not only a capacity label.
Consider noise, added heat, filter access, drainage maintenance, and where the sensor is located. A control reading influenced by a nearby supply outlet may not represent the intended space. Have the installer demonstrate operation and explain what the owner should observe. Record the final settings and any conditions requiring professional adjustment.
Coordinate ventilation with moisture control
List intentional outdoor-air and exhaust systems and ask how their airflow is verified. Include bathroom exhaust, kitchen exhaust, clothes dryers, and the proposed whole-house ventilation arrangement where applicable. The exact design belongs to the responsible professionals, but the owner can request an explanation of how the systems work together.
An equipment change or enclosure renovation may alter the original assumptions. For remodeling, use the renovation guide to coordinate changes before closing cavities. Avoid turning ventilation off as an informal cure for humidity without evaluating indoor-air and equipment implications with the appropriate professional.
A hypothetical shoulder-season complaint
Consider a well-insulated coastal house that feels comfortable in temperature but develops elevated indoor humidity during mild, rainy weather. The owner lowers the thermostat, yet the problem persists and some rooms become too cold. This example suggests a need to investigate the relationship between cooling demand, moisture load, ventilation, and control settings.
It does not prove that a dehumidifier is the only solution. The investigator should review equipment selection, operation, airflow, enclosure leakage, and moisture sources. Compare proposed corrections against those findings, then define how performance will be observed after the change. The goal is a documented explanation and a measurable outcome.
Protect drying potential during renovations
Before adding interior coatings, insulation, or exterior membranes, review the existing wall or roof composition. The proposed layer may alter temperatures or restrict drying in ways that depend on the complete assembly. Ask the design team to explain the intended wetting and drying behavior.
The materials guide helps structure compatibility and documentation questions. Record product names and installation conditions so future work does not add another layer without understanding the existing construction. Where the behavior is uncertain or the consequences are significant, obtain an appropriate enclosure analysis rather than relying on a generic material rule.
Commission the final operating arrangement
A useful handover records equipment, settings, airflow-related checks, drainage arrangements, sensor locations, and maintenance tasks. Ask the installer to explain how cooling, ventilation, and any dehumidification system respond under different operating conditions. Include what the owner should do if readings or alarms fall outside the intended range.
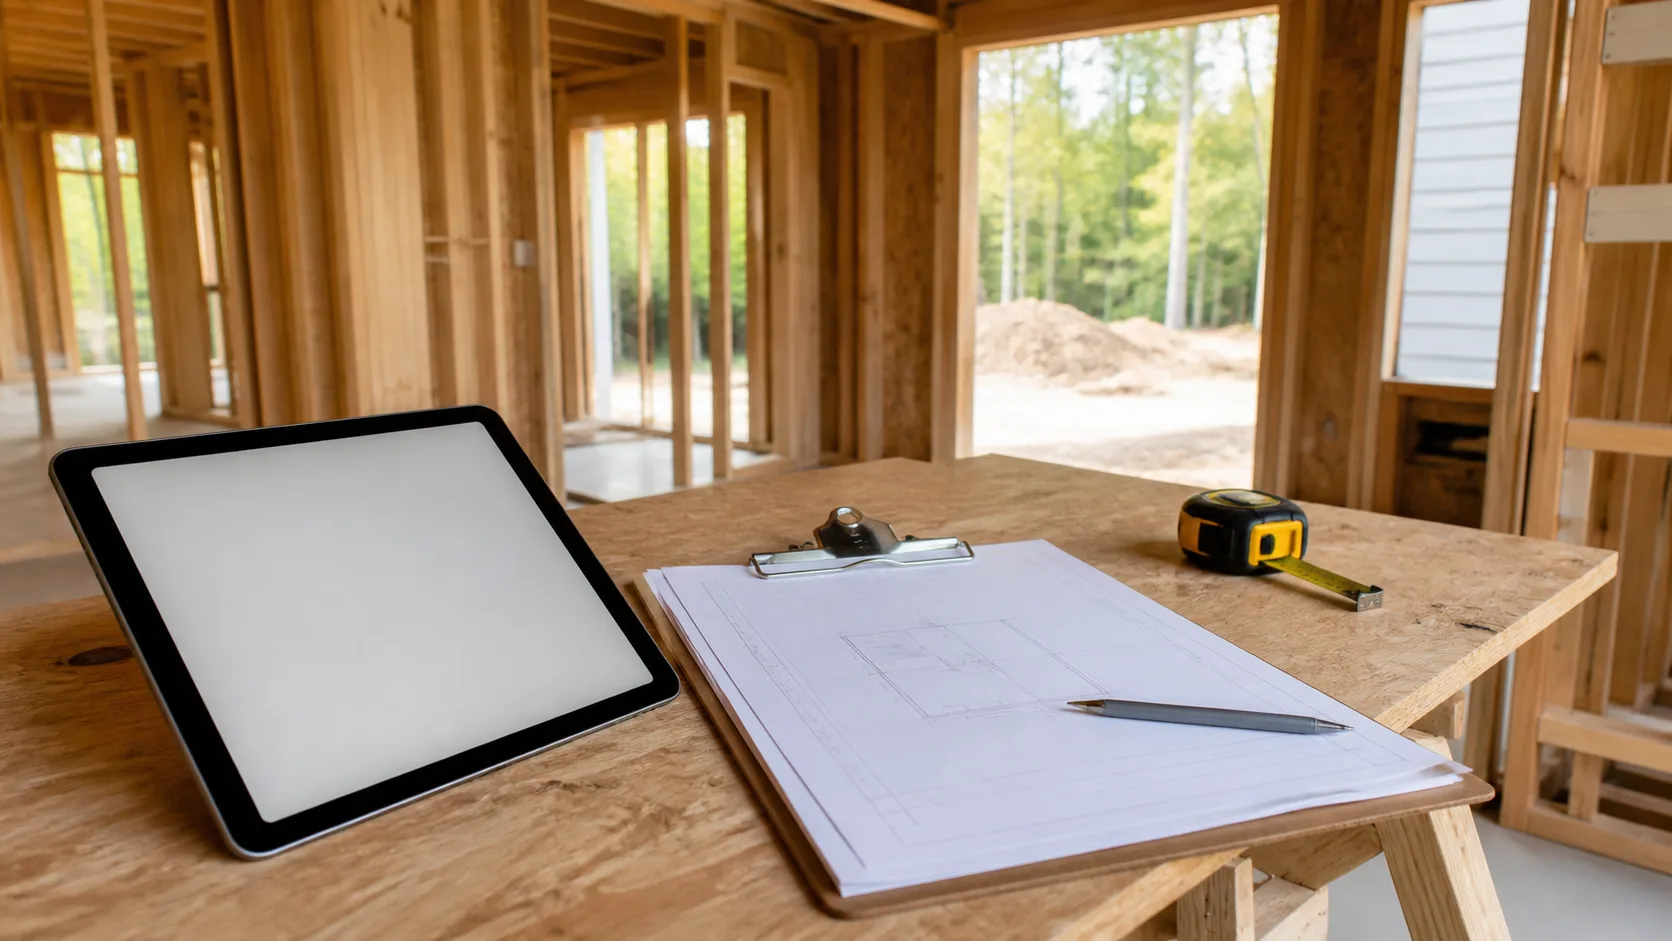
Use the construction planning guide to make these records part of the contracted closeout scope. Follow-up after occupancy can be valuable when actual use differs from design assumptions. Document changes to settings and the observed result rather than making several unexplained adjustments at once.
Questions about maintaining a humid-climate home
Should the thermostat simply be set colder? A lower temperature setting may not resolve the underlying moisture mechanism and can create other comfort or condensation questions. Investigate the cause and have the equipment strategy reviewed.
Will air sealing solve every moisture problem? It addresses uncontrolled air movement, but rain leakage, plumbing, vapor behavior, and equipment operation still need their own evaluation.
What should a seasonal owner receive? Obtain an operating plan for vacancy, monitoring, maintenance, and response to abnormal conditions from the responsible equipment professionals. Assumptions should match the actual house.
Where does moisture fit in coastal resilience? It connects long-term durability and comfort with rain control, structure, materials, and operation. The coastal building guide provides the broader context for keeping those decisions coordinated.
Coordinate these interior and wall vapor control strategies with our Exterior Siding & Roofing guide.
Primary Sources & Code References
- Advanced HVAC Humidity Control for Hot-Humid Climates U.S. Department of Energy · reviewed August 29, 2026
- Whole-House Dehumidification Building America Solution Center · reviewed August 29, 2026
- Class I Vapor Retarders Not Installed in Above-Grade Walls in Warm Humid Climate Building America Solution Center · reviewed August 29, 2026
- Building Enclosure — Air Barriers vs. Vapor Barriers Building Science Education Solution Center · reviewed August 29, 2026
Related Engineering Guides
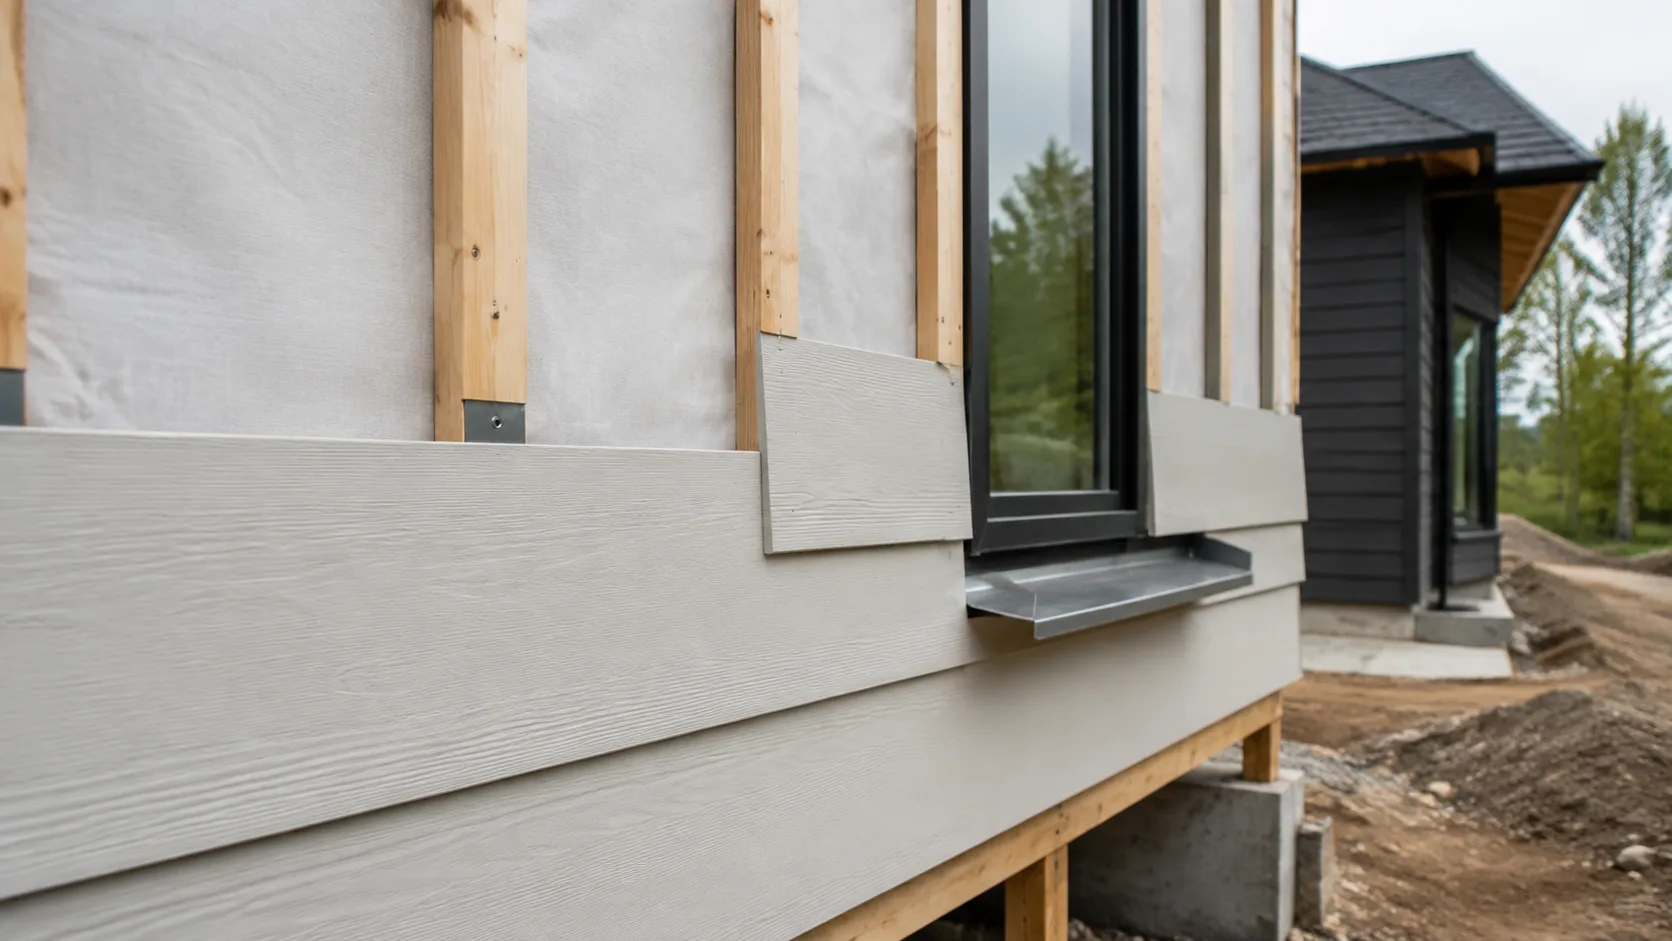
Building Envelope Guide
Understand how roofs, walls, windows, foundations, air barriers, drainage planes, insulation, and HVAC work as one enclosure.
Read technical guide
Coastal Building Guide
A practical starting point for planning durable homes in hurricane, flood, salt-air, and hot-humid coastal conditions.
Read technical guide
High-Wind Roof Systems: Components, Connections, and Checks
Review high-wind roofs as complete assemblies—from shape and deck attachment to sealed decks, edges, coverings, penetrations, and maintenance.
Read technical guide