
Building Envelope Guide
Understand how roofs, walls, windows, foundations, air barriers, drainage planes, insulation, and HVAC work as one enclosure.
Think in control layers
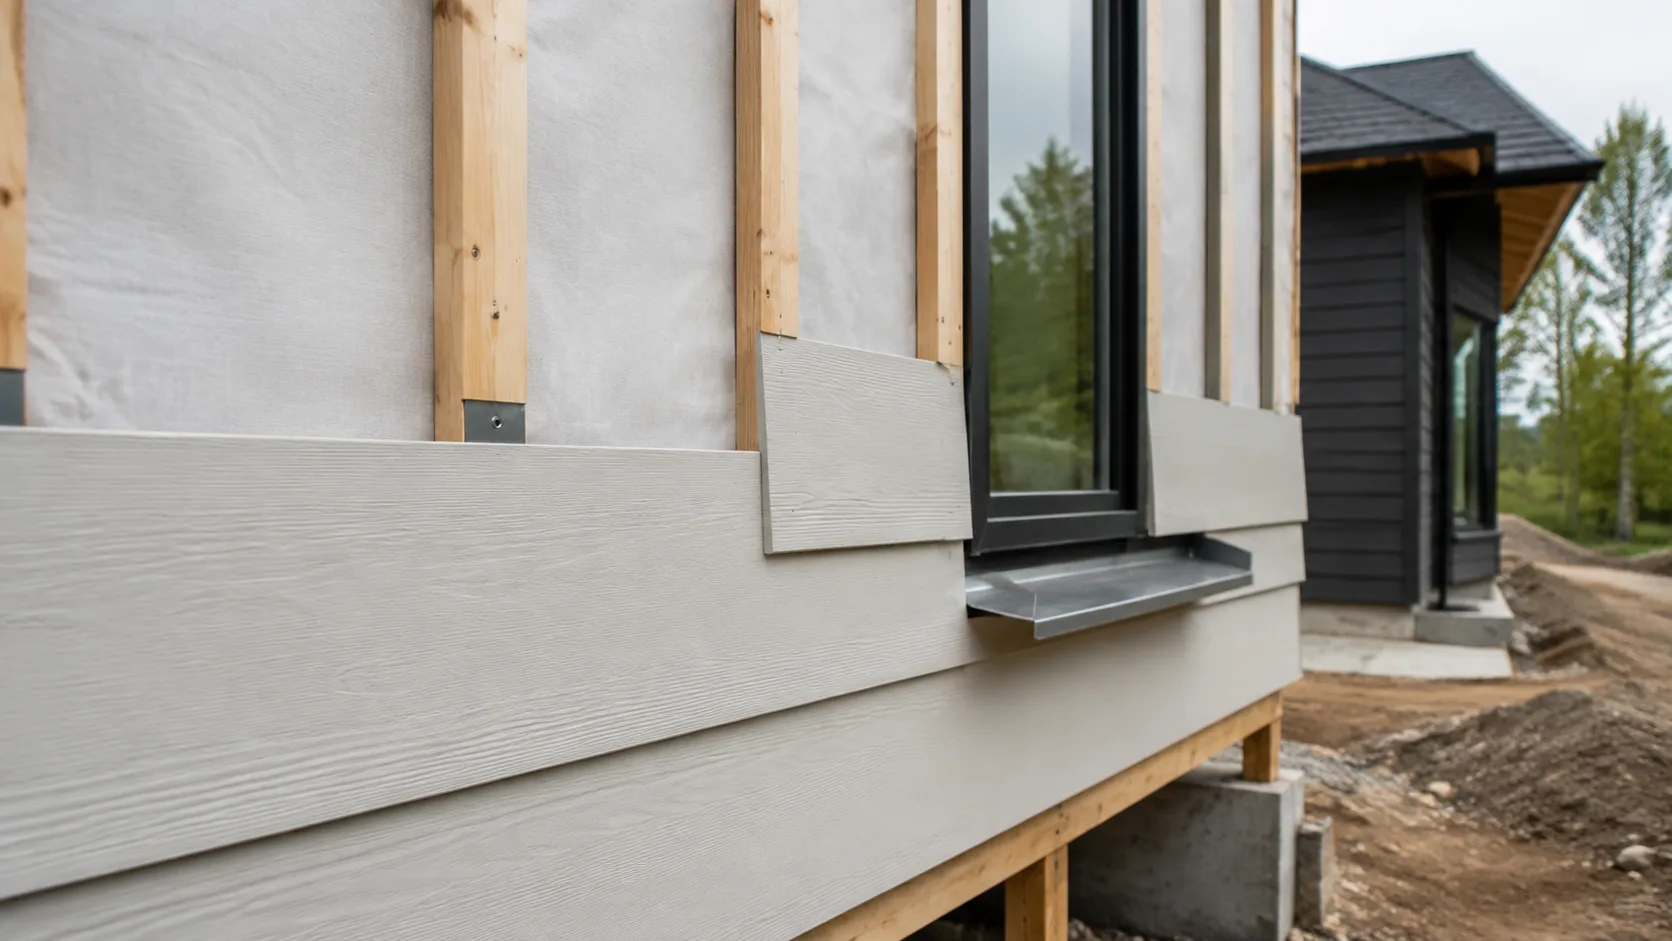
The enclosure separates conditioned space from outside conditions. Its key control functions are bulk-water drainage, air control, thermal control, and vapor control. One material may perform several functions, but each function still needs a continuous path.
| Control function | Typical failure | What to document |
|---|---|---|
| Bulk water | Rain enters at joints or openings | Shingle laps, flashings, drainage paths, terminations |
| Air | Humid air leaks into cavities | Air-barrier material, seams, penetrations, transitions |
| Heat | Insulation gaps and thermal bridges | Continuous insulation, cavity fill, framing transitions |
| Vapor | Assembly cannot dry as expected | Material permeance, climate direction, indoor humidity |
An air barrier is not automatically a vapor barrier, and neither term simply means plastic sheeting. The correct assembly depends on climate and drying potential.
Detail transitions before construction
Failures often occur where systems meet: wall to roof, window to wall, balcony to door, foundation to wall, or duct to ceiling. Draw those transitions at a scale that shows sequence and responsibility. Product data alone rarely explains how different manufacturers’ systems connect.
Coordinate HVAC with the enclosure
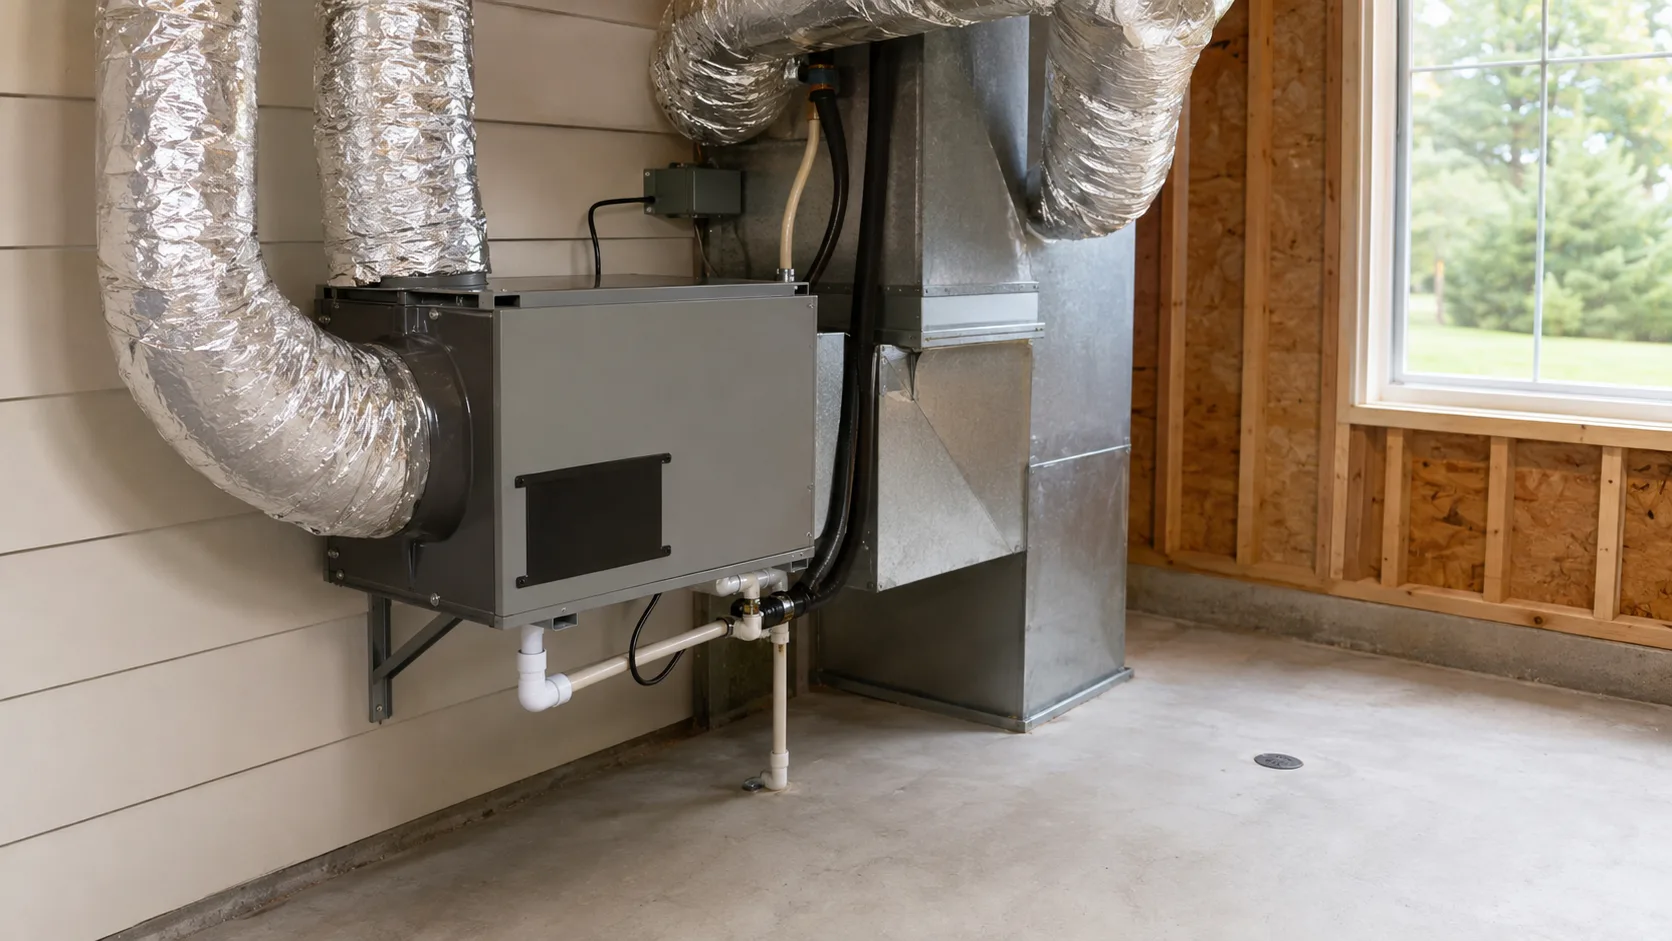
Air sealing and insulation change heating, cooling, and moisture loads. Equipment should be selected after those assumptions are established. Oversized cooling equipment may satisfy temperature quickly while providing less moisture removal. Read our focused hot-humid moisture-control guide.
Verification points
- Inspect the drainage plane before cladding covers it.
- Test or inspect air-barrier continuity before finishes.
- Confirm windows are integrated with flashings, not merely caulked.
- Protect materials from rain and allow wet assemblies to dry.
- Photograph penetrations and transitions.
- Commission ventilation, exhaust, HVAC, and dehumidification controls.
Material properties and compatibility are covered in building materials. Existing-house transitions are addressed in home remodeling. Coastal projects should also follow coastal building.
Trace each control layer around a section drawing
Take a simple section through the roof, exterior wall, floor, and foundation. Use a different color for water, air, thermal, and vapor-control functions. Follow each line through corners and transitions. If the line stops, identify the component that reconnects it. Tracing these functions exposes interfaces that need a coordinated project detail.
The exercise is especially useful at an attached garage, porch roof, cantilever, or stepped foundation. These conditions can make the boundary of conditioned space less obvious. Confirm which spaces are inside the enclosure and which are outside before equipment sizing or air-sealing specifications are finalized. A visually continuous wall does not necessarily mean the thermal and air boundaries follow the same route.
Start with water paths at a typical window
A window detail should explain where incidental water goes at the sill, jambs, and head. Ask how the window connects to the wall’s drainage plane and how the assembly discharges water outside. Consider what happens before cladding installation and what remains serviceable afterward. The sequence is as important as the finished appearance because later layers can conceal an incorrect lap.
Have the window supplier, enclosure designer, and installer resolve incompatible instructions before ordering. A flange, recessed frame, masonry opening, and replacement insert may require different approaches. Do not copy one detail across these conditions without review. Record the selected detail, substrate preparation, compatible materials, and inspection point. This makes the result repeatable across the project.
Penetrations deserve their own schedule
List pipes, ducts, electrical feeds, lights, hose connections, and equipment supports that cross the enclosure. Group similar penetrations into coordinated zones where practical. Identify who provides the sleeve, flashing, seal, support, and final finish. If each trade creates its own opening independently, the enclosure crew may not be able to maintain continuity after the fact.
A late exterior fixture can also interrupt an otherwise complete wall. Require later additions to use documented details and preserve the intended drainage route. Photograph concealed transitions and keep those images with the house records. Future installers then have a better chance of identifying a suitable connection instead of guessing what sits behind the cladding.
Distinguish rain leakage from humidity problems
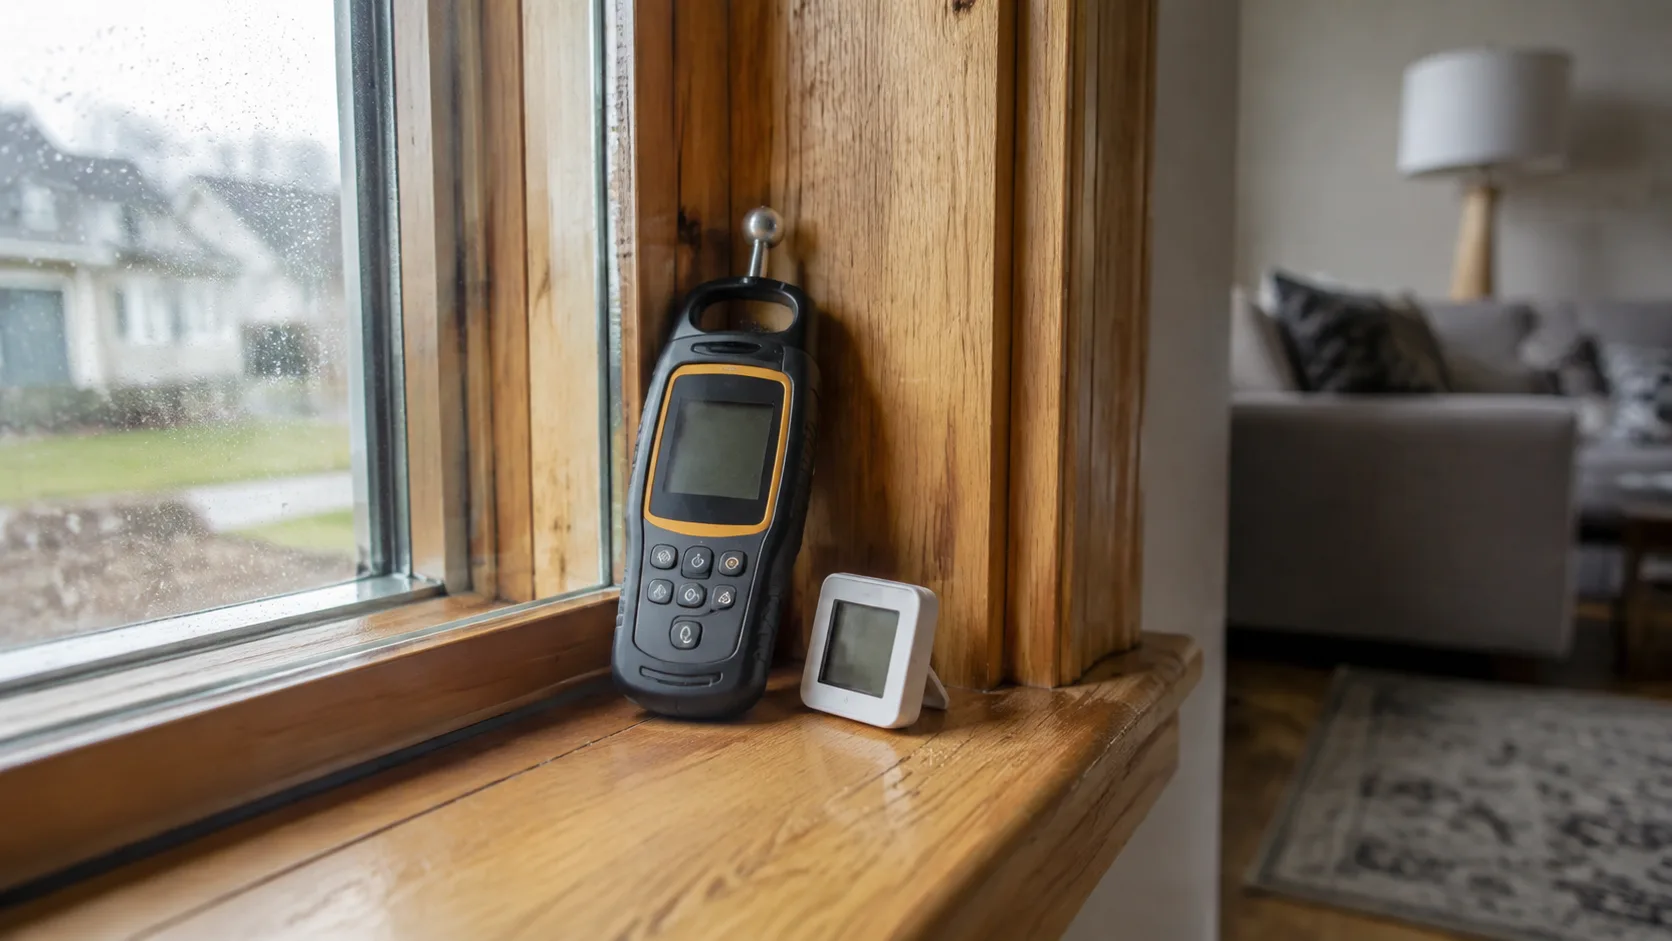
A stain may come from an exterior leak, a plumbing leak, air leakage, condensation, or moisture retained during construction. Start an investigation by documenting its location, timing, nearby equipment, weather conditions, and any recent modifications. Use observations to narrow the question before opening large areas or prescribing a new coating.
The hot-humid moisture guide explains how enclosure and equipment interact. A dehumidifier may help control room humidity while leaving a rain leak unresolved. Likewise, replacing an exterior sealant will not necessarily correct pressure-driven air movement. The repair should address the identified transport mechanism and include a way to verify that it worked.
Think about drying when changing insulation
An insulation upgrade can change temperatures within an assembly and alter the way it dries. Existing paint, membranes, sheathing, and cladding remain part of the wall after new insulation is installed. Review the complete build-up instead of considering only the added layer’s thermal rating. A project with unusual indoor conditions or difficult exposure may need more detailed analysis.
For background, see the Department of Energy's research on moisture performance of high-R walls. The practical takeaway for an owner is to request an assembly explanation: which layers resist wetting, which allow drying, and what installation conditions must be met. Avoid assigning one material the entire responsibility for moisture management.
Air sealing and ventilation need coordinated goals
An enclosure project should identify how outdoor air is intentionally supplied and how exhaust leaves the house. Air leakage through random gaps is difficult to control or filter. After sealing work, confirm that the intended ventilation system and combustion-related requirements, where applicable, have been reviewed by qualified professionals.
Ask the HVAC designer to document the enclosure assumptions used for equipment selection. If windows, insulation, floor area, or air-tightness goals change, determine whether calculations or selections need revision. The building team should resolve these changes before equipment procurement, when alternatives are easier to evaluate and installation work has not committed the project to an unsuitable arrangement.
Review roof-to-wall transitions early
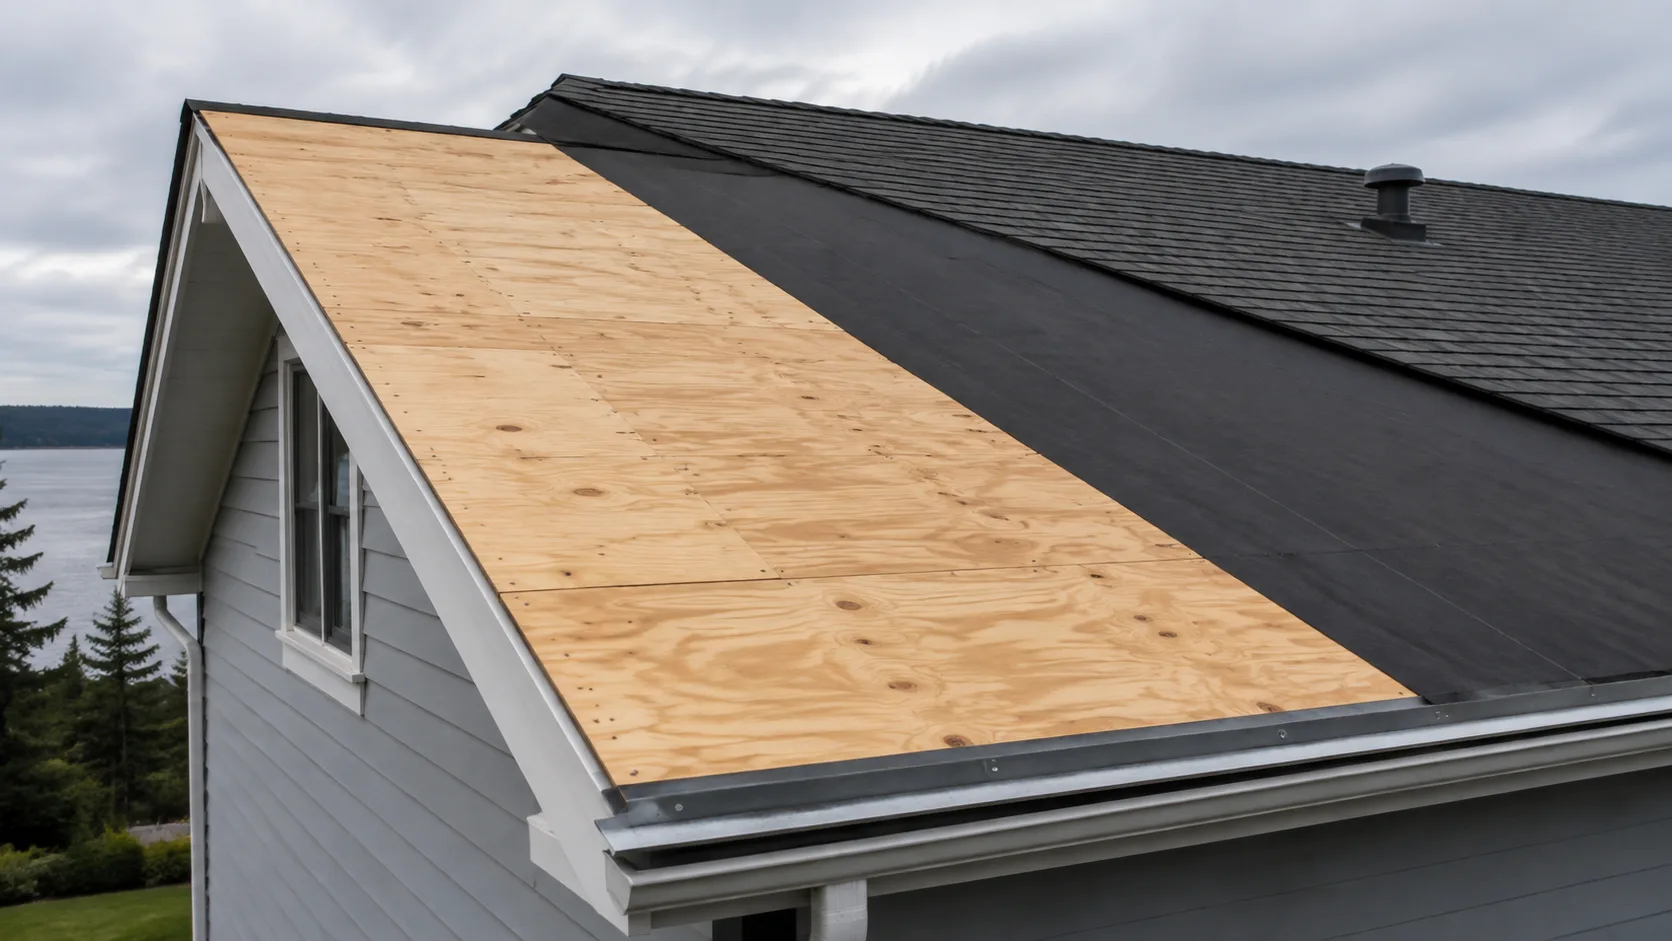
A lower roof that meets a taller wall concentrates several responsibilities in one location. Roofing, wall drainage, flashings, trim, and sometimes ventilation meet there. Ask which layer is installed first, how water leaves the intersection, and which parts will remain accessible for inspection or replacement.
The high-wind roof guide adds the attachment and pressure questions needed on exposed sites. Review eaves, soffits, roof penetrations, and changes in slope alongside the wall drawings. Treating the roof and wall as separate bids does not remove the need for a complete transition between them.
Plan a useful enclosure mockup
Choose a representative difficult detail, such as a window corner or roof-wall intersection, rather than a flat area that teaches little. Agree on what the mockup will demonstrate. Potential questions include drainage continuity, access for fastening, compatibility, workmanship, appearance, and the order of operations. Identify the people who must review it and the changes that require another review.
Record the accepted version with photographs and marked drawings. The mockup can then serve as a field reference, but it does not authorize a change to engineering or code requirements. If the crew discovers that the approved sequence cannot be repeated in another location, pause that detail and resolve the difference rather than extending the approval by assumption.
Verification should occur while repairs are practical
Decide when visual inspections, air-leakage testing, or project-specific water testing will happen. Early verification can expose a problem before trim, cladding, or interior finishes make repair expensive. Specify who performs the check, what constitutes acceptance, and what record goes into closeout. A test with no agreed interpretation can create confusion rather than confidence.
Where a test fails, document the condition and corrective work, then verify the relevant area again. Avoid accepting a cosmetic repair as proof that the underlying transport path is resolved. This approach is particularly valuable in home remodeling, where old and new assemblies may behave differently and previous drawings may not match existing construction.
A hypothetical enclosure review meeting
Suppose a builder proposes a thicker exterior insulation layer after windows have been selected. The change could improve one performance goal while affecting sill projections, fastening length, trim depth, flashing geometry, and clearances. Invite the relevant designer and trades to review a section through the window and another through the roof edge.
Record every affected document and product, then decide whether the revised assembly is acceptable. Update the budget and schedule if accessories or labor change. The materials guide helps structure compatibility questions, while construction planning provides a way to track approval and procurement. This example illustrates why enclosure decisions are best reviewed at their interfaces.
What the owner should receive
Request the approved assembly details, relevant product documents, test results, concealed-work photographs, and maintenance instructions. Include locations of intentionally open drainage paths so future painting or repairs do not seal them shut. Explain where inspection requires professional access.
The owner’s record should also identify the final HVAC and ventilation assumptions associated with the enclosure. If recurring moisture symptoms appear after occupancy, those records provide a starting point for diagnosis. A complete enclosure handover makes the house easier to maintain and future renovations easier to design from evidence.
For IRC Chapter 9 roof underlayment rules, ice-and-water barrier placement, and cladding drainage details, see our Exterior Siding & Roofing guide.
Primary Sources & Code References
- Building Enclosure — Air Barriers vs. Vapor Barriers Building Science Education Solution Center · reviewed August 29, 2026
- Moisture Performance of High-R Wall Systems U.S. Department of Energy · reviewed August 29, 2026
Related Engineering Guides
Moisture Control in Hot-Humid Climates
Coordinate rain control, air sealing, vapor behavior, HVAC sizing, ventilation, and dehumidification for durable hot-humid homes.
Read technical guide
Building Materials Guide
Compare residential building materials by assembly role, exposure, compatibility, installation, maintenance, and replacement—not price alone.
Read technical guide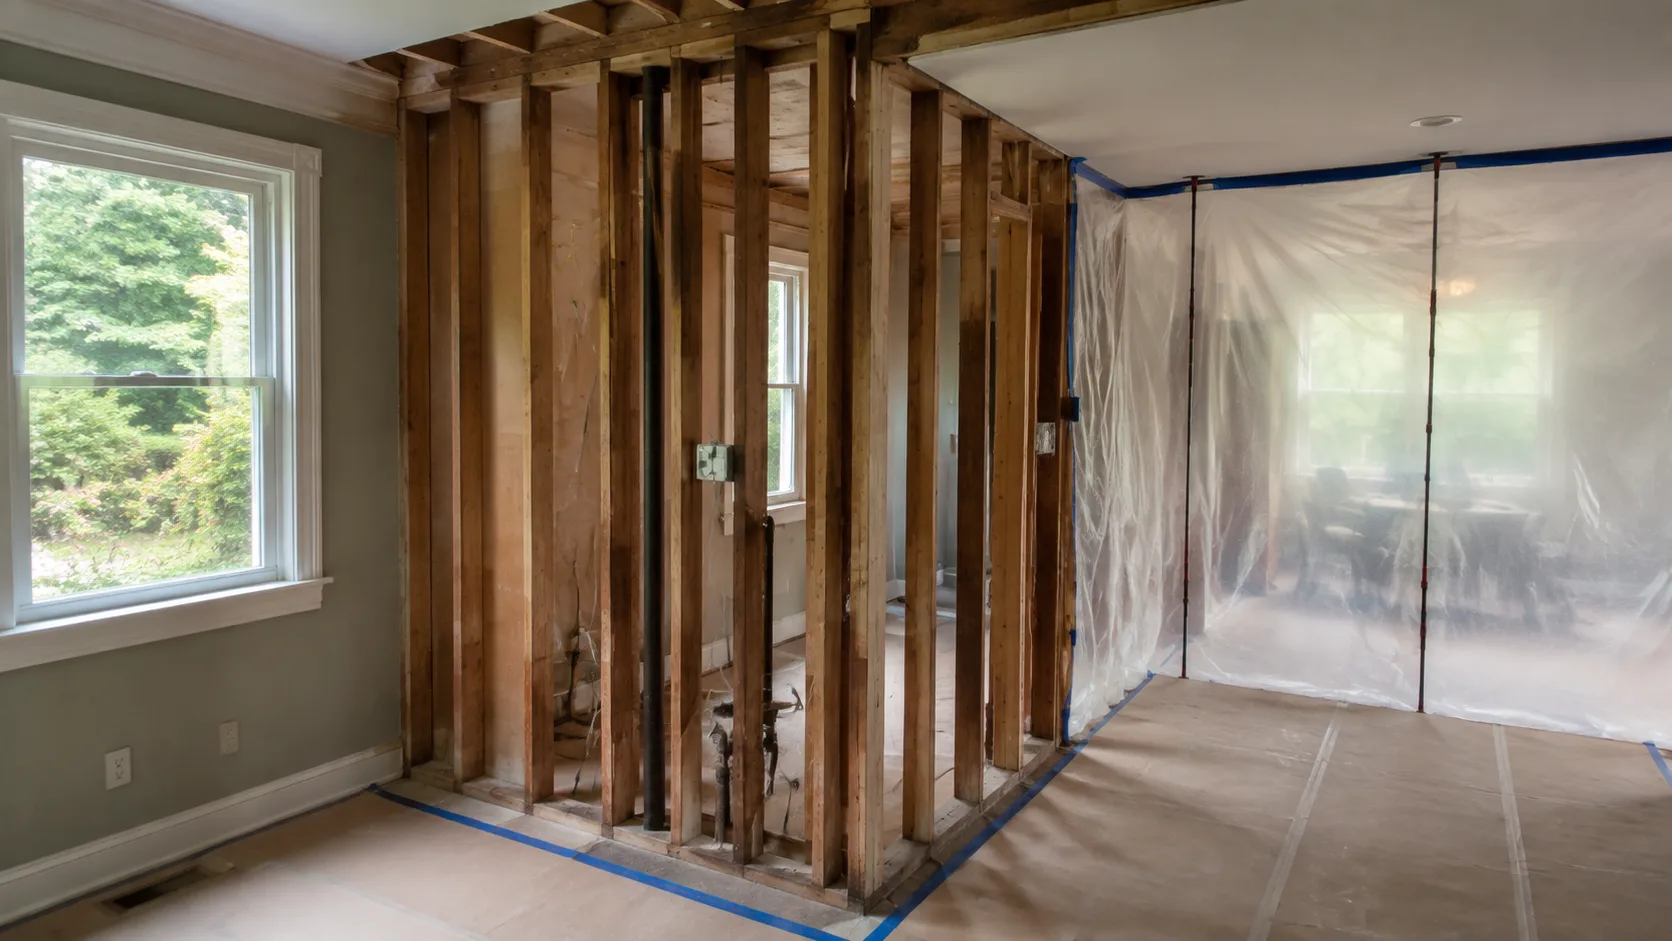
Home Remodeling Guide
Plan remodeling work around existing conditions, hidden-risk allowances, permits, water management, and a controlled change process.
Read technical guide